Agent sessions and where agents run
As you work with agents, you accumulate multiple sessions across different features, bug fixes, and explorations. You also want to run several agents simultaneously - one working interactively while another handles background tasks, for example. This guide covers how to navigate and manage agent sessions, and the difference between the three places an agent can run, locally in VS Code, in the background with Copilot CLI, and remotely in the cloud on GitHub infrastructure.
The agent sessions sidebar
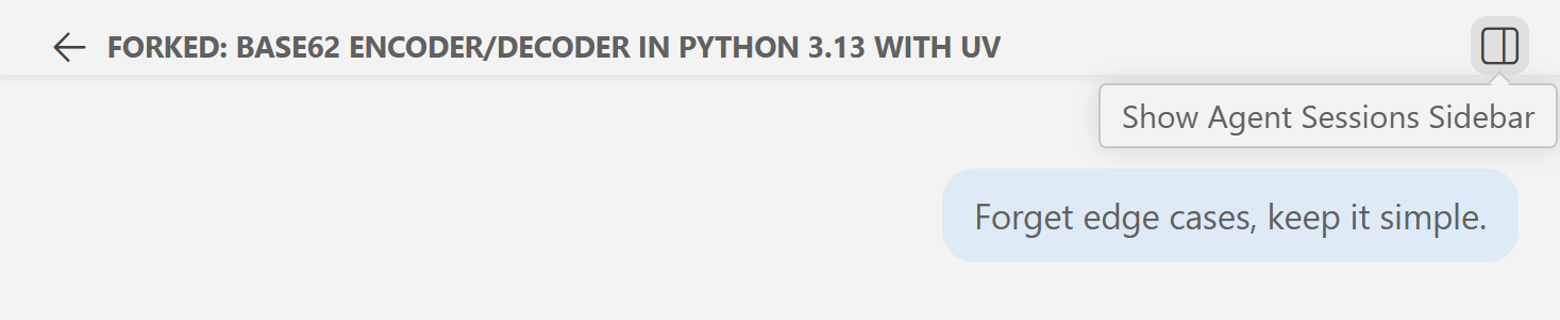
The Agent Sessions sidebar is your control center for everything happening across your agents. Open it from the VS Code activity bar, or select Show Agent Sessions Sidebar at the top of the Chat view.
The sidebar lists every session you have worked in. Each entry shows:
- The session name.
- A timestamp for when it was last active.
- A file change count if the agent made changes you have not reviewed yet. This clears once you accept or undo them.
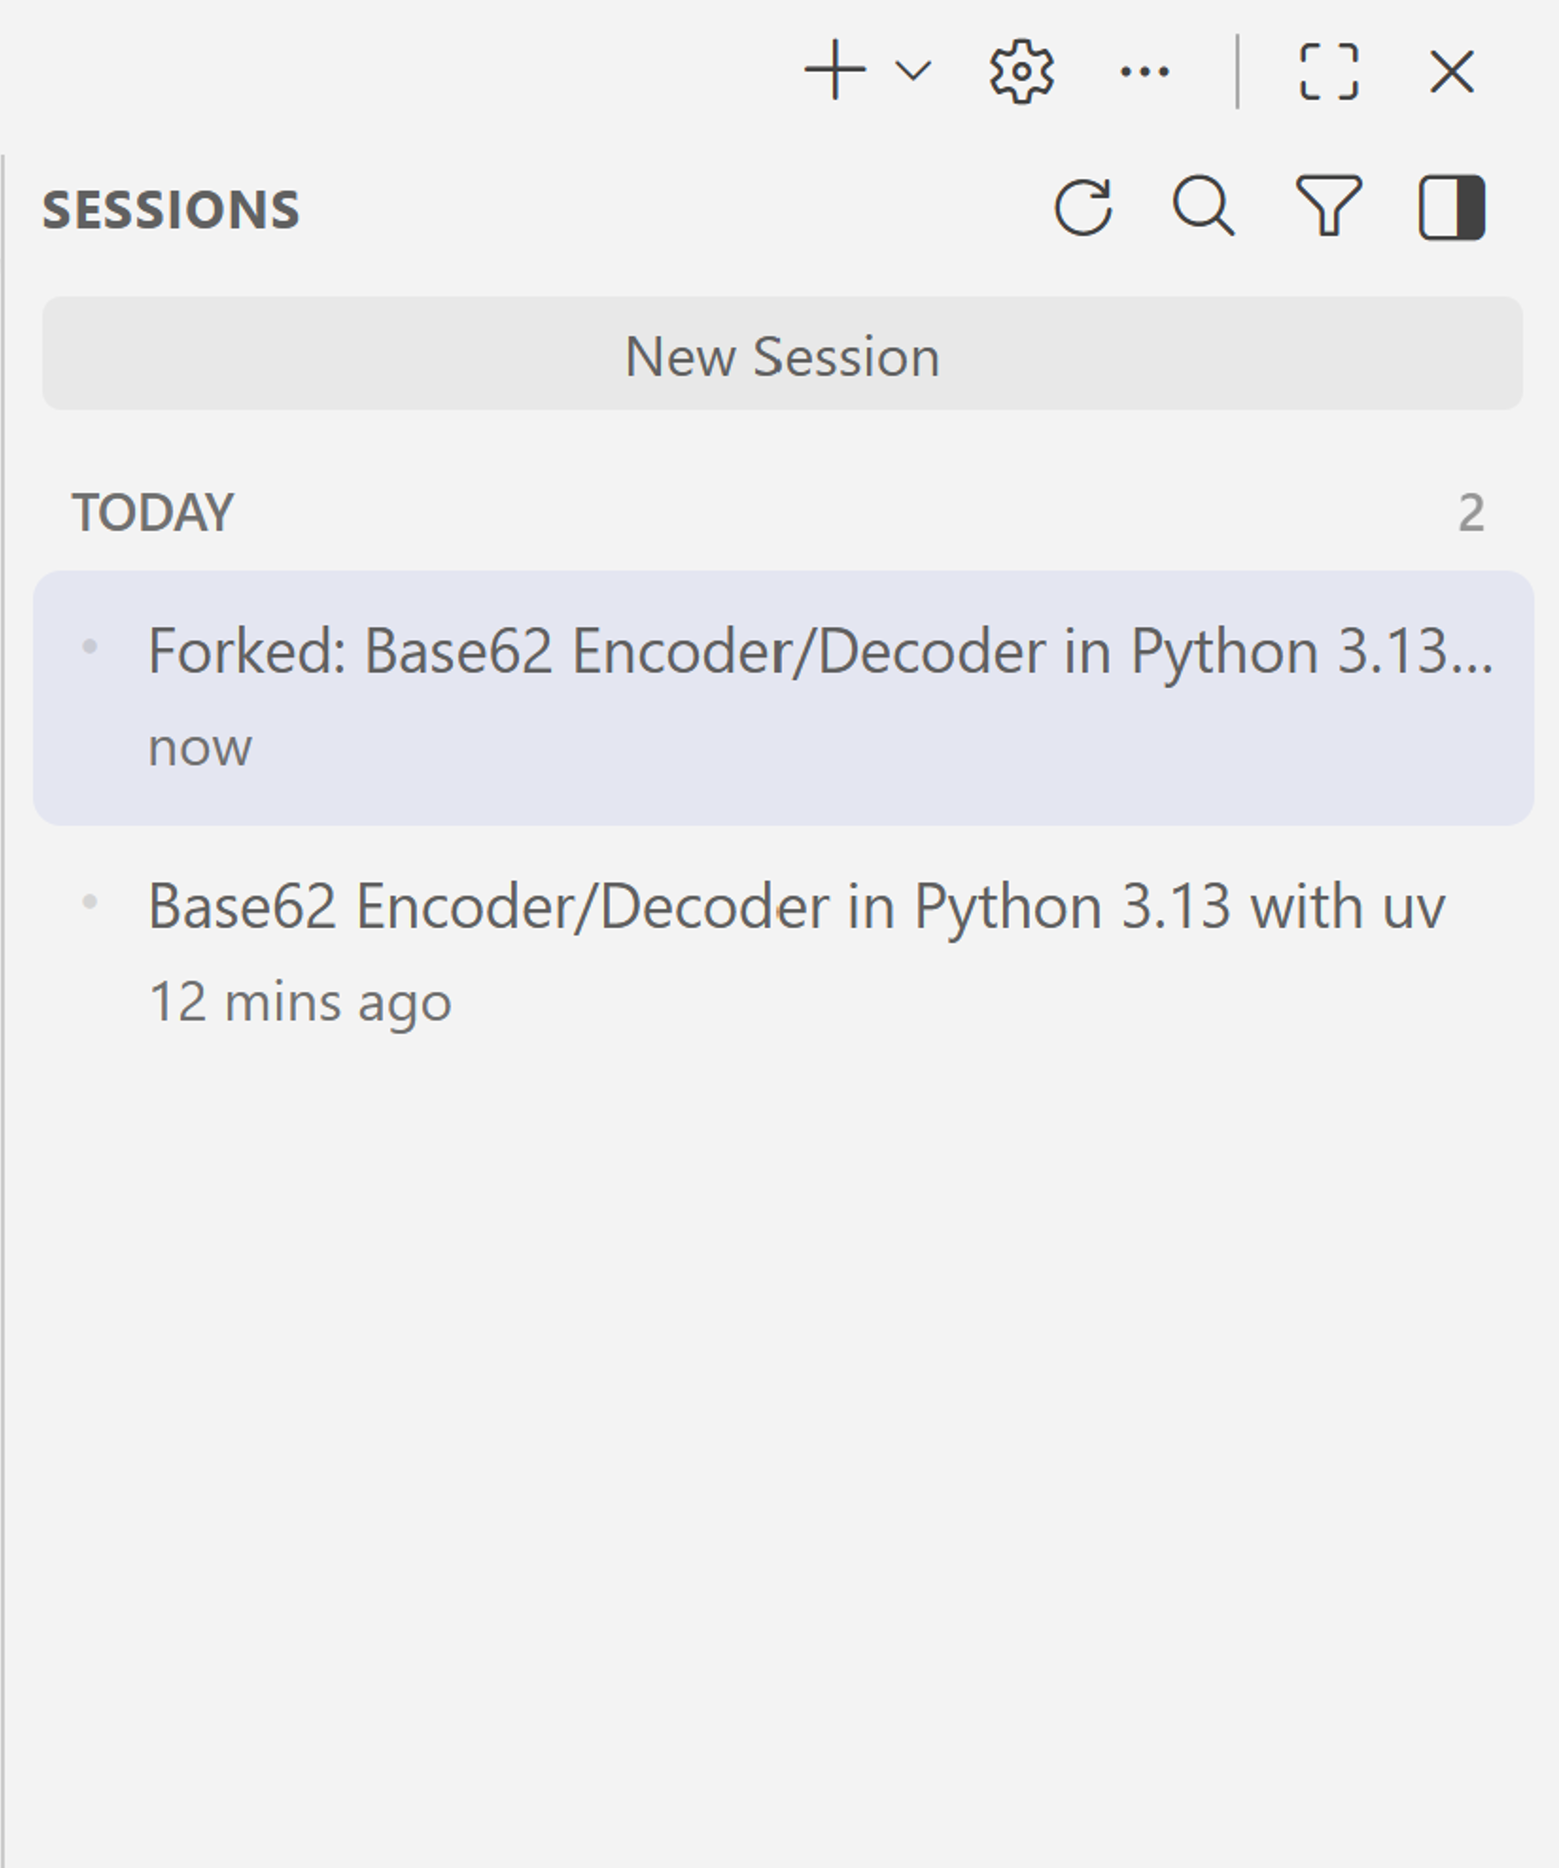
Select any session to open it in the Chat view. The full conversation history is there, exactly where you left it. Every session is independent, with its own context window, conversation history, and tool results. What you do in one doesn't affect any other.
Running multiple agents in parallel
You do not have to finish one session before starting another. Start a new session, and the previous one keeps working in the background.
This lets you run multiple agents at once.
- A local session for interactive debugging.
- A background agent for refactoring a test suite.
- A cloud agent for writing documentation.
If you want to watch more than one session at once, move a session into an editor tab or separate window.
Managing sessions
Right-click any session for management options.
- Archive hides the session from the active list but keeps it intact so you can search for it and reopen it later. Use this to declutter without losing history.
- Delete removes the session permanently. Use this only when you're certain you don't need it.
The agent type picker
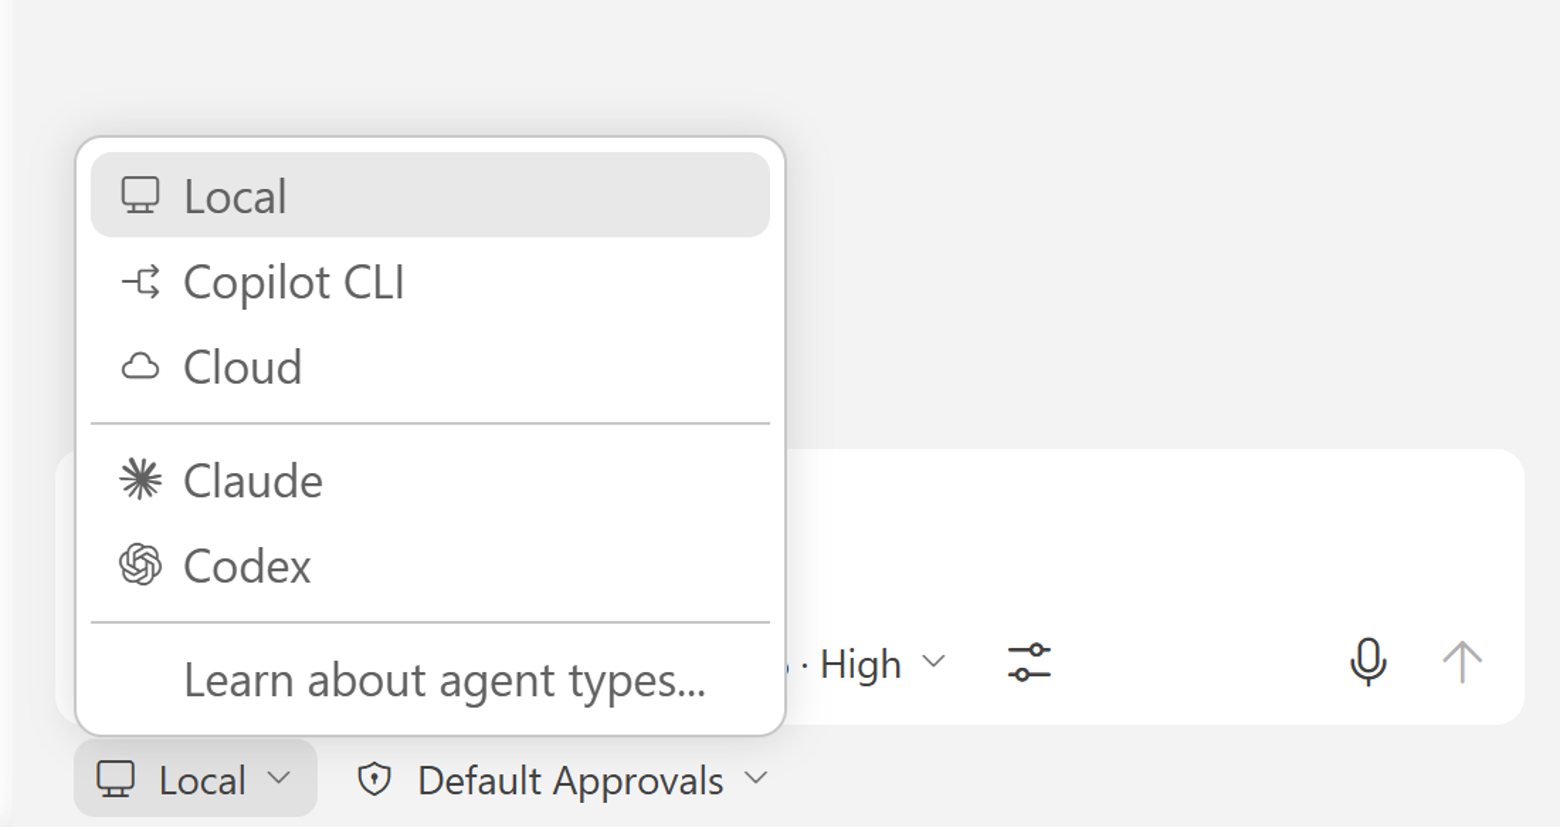
At the bottom of the chat input is the agent type picker. It shows the current agent type and controls where the next session runs.
In a fresh session, it shows the available agent types. In an active session, it shows options to start a new session or hand off the current one to a different agent type.
Local agents
Local is the default agent type. The agent runs interactively inside VS Code with access to your workspace, tools, and terminal.
Use Local when you want to:
- Work hands-on and iterate quickly.
- Stay in control of each decision.
- Do interactive debugging or exploratory development.
Copilot CLI (background agents)
Copilot CLI runs the agent as a background process on your machine while you keep working in the editor. You can run multiple CLI sessions in parallel.
CLI sessions show up in the Agent Sessions sidebar alongside local sessions - one place to view everything.
Copilot CLI will be covered in depth in a later section of this series.
Cloud agents
Cloud agents run on GitHub infrastructure, off your machine entirely. A cloud agent will create a pull request, push commits as it works, and leave the result ready for review.
This is the fully asynchronous option. You can close VS Code, come back later, and review the work in the pull request.
Use cloud agents for tasks that are:
- Well-scoped with a clear done state.
- Suitable to hand off completely.
- Naturally suited to team collaboration via pull requests.
Starting a cloud agent session
In a fresh session, select Cloud in the agent type picker.
Here is an example prompt.
Add a README documenting the base62 encoder, what it does, how to run it, and examples of encoding and decoding from the command line.
The agent spins up on GitHub infrastructure for you, creates a draft pull request, clones the repository, reads the code, and starts pushing commits.
Viewing cloud agent sessions
If you have the GitHub Pull Requests extension installed, the pull request shows up inside VS Code.
On GitHub.com, your repository's Agents tab shows active sessions, their status, and the linked pull request. You can open a session there to inspect its step-by-step log and send follow-up guidance mid-run.
Handing off between agent types
In an active session, the agent type picker shows two options.
- New Chat Session starts a fresh session with an empty context window.
- Continue In hands off the current session to a different agent type and carries the full context forward.
Use Continue In when you want to start locally, then hand the work off to a background or cloud agent without rebuilding context from scratch.
Choosing the right agent type
| Situation | Best choice |
|---|---|
| Interactive, hands-on development | Local |
| Several independent tasks in parallel | Copilot CLI |
| Well-scoped task to hand off as a pull request | Cloud |
| Exploratory work where you want to stay in the loop | Local |
| Async work to review later | Cloud |
What's next
The Agent Sessions sidebar gives a complete view of work happening across agent types. Local for interactive work. CLI for parallel background tasks. Cloud for fully async work that produces a pull request.
In the next guide, you will go behind the scenes and inspect prompts, tool calls, and responses to understand what the agent is doing.