Reviewing and controlling agent changes
When an agent finishes a round of work, it leaves behind proposed changes, edits to files, new files, and deleted files. Nothing is permanent until you say so. This guide covers how to review what the agent did, accept or undo changes at any granularity, and use the tools available to steer the agent, correct mistakes, and explore multiple directions without losing work.
The files changed bar
After every agent response that includes file edits, a files changed bar appears above the chat input. It lists every file the agent touched in that response. This is your starting point for reviewing what happened.
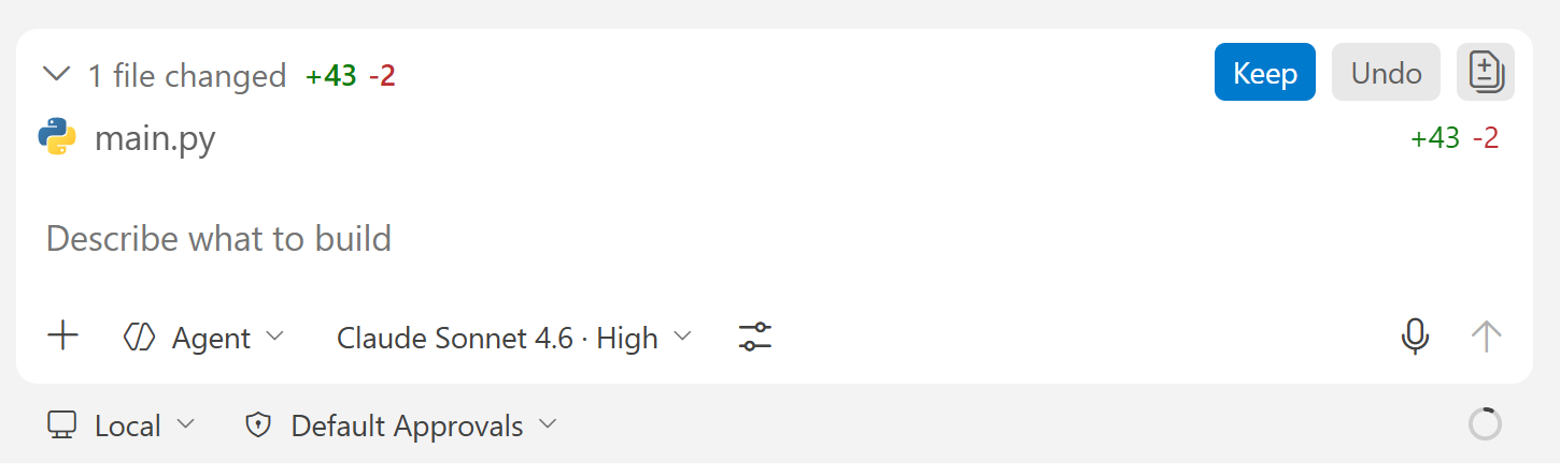
Select any file in the list to open the inline diff. Removals are highlighted in red and additions in green, shown inline in the same editor view so you can read exactly what changed.
Remember: nothing is permanent yet. The agent has proposed these changes, but they are not saved until you explicitly accept them.
Per-change controls
Inside the diff view, you will find Keep and Undo controls on each individual edit. Use the arrow navigation to move between edits within the file without scrolling manually.
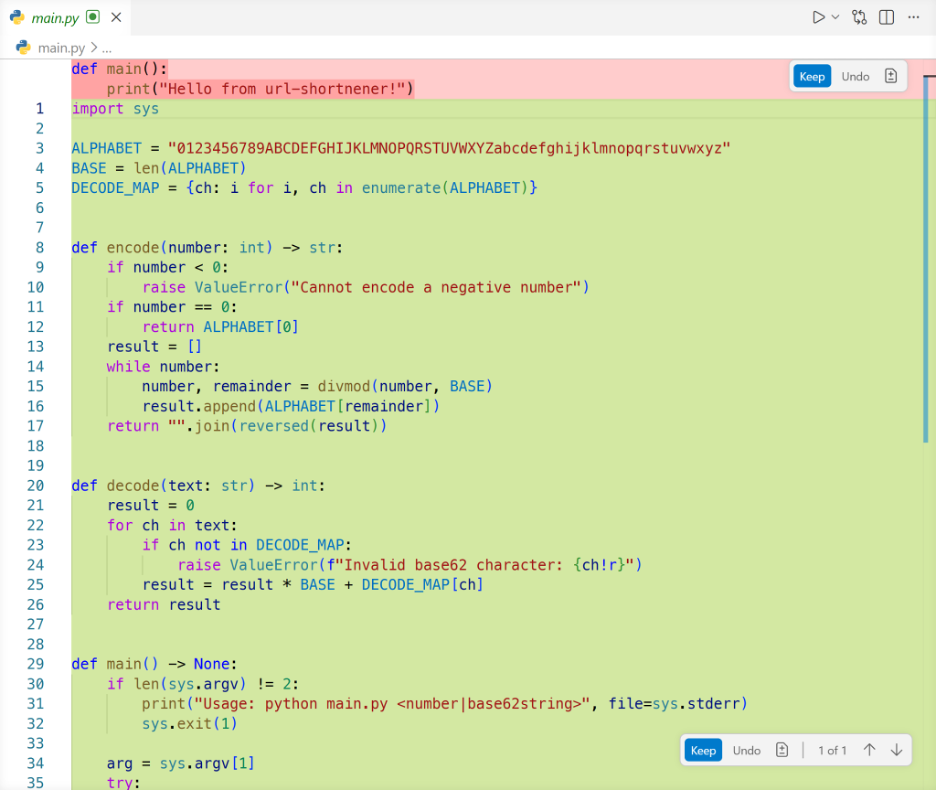
This lets you keep the correct changes and undo only the incorrect ones. This granularity matters. The agent might make ten changes to a file - nine correct, one wrong. You don't have to throw out the whole thing. Keep the nine, undo the one, and move on.
Once you've reviewed a file, move to the next one in the files changed bar and repeat.
Accept all or undo all
When you're happy with all the changes across all files, the top-level Keep button accepts everything at once. Undo All rolls back every file the agent touched in this round, leaving your workspace exactly as it was before.

Use Accept All when you trust the output. Use Undo All when the agent went in the wrong direction and you'd rather start over.
Editing a previous message
If your original prompt was missing a requirement, edit the prompt directly instead of sending a chain of follow-up corrections.
Hover over any message in the chat and select the edit icon. Update the requirement and resend.
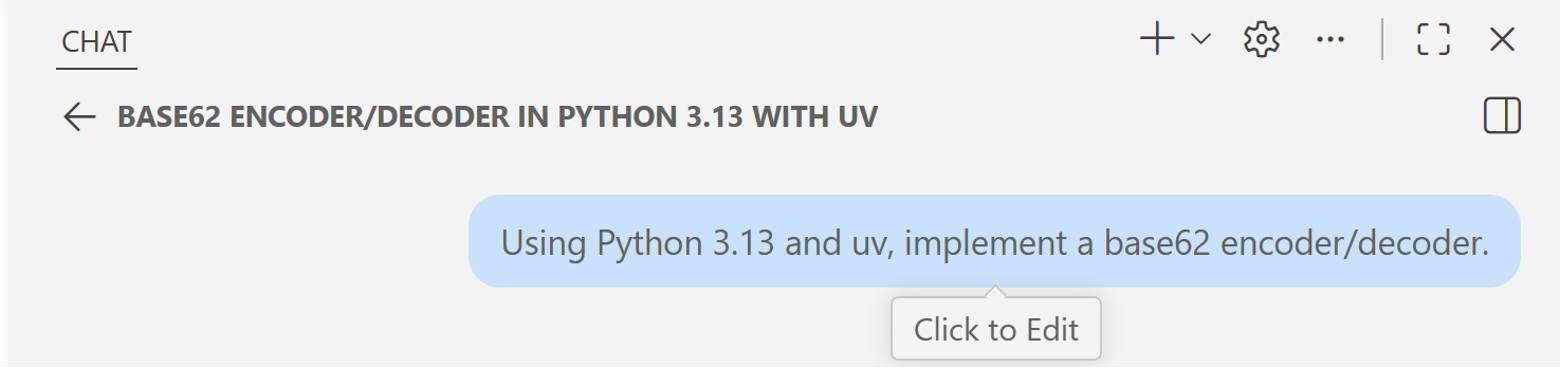
The agent reruns from that point, replacing the conversation history after that message.
This keeps your prompt history clean. Instead of stacking several corrections, you end up with one clear instruction and a clean response.
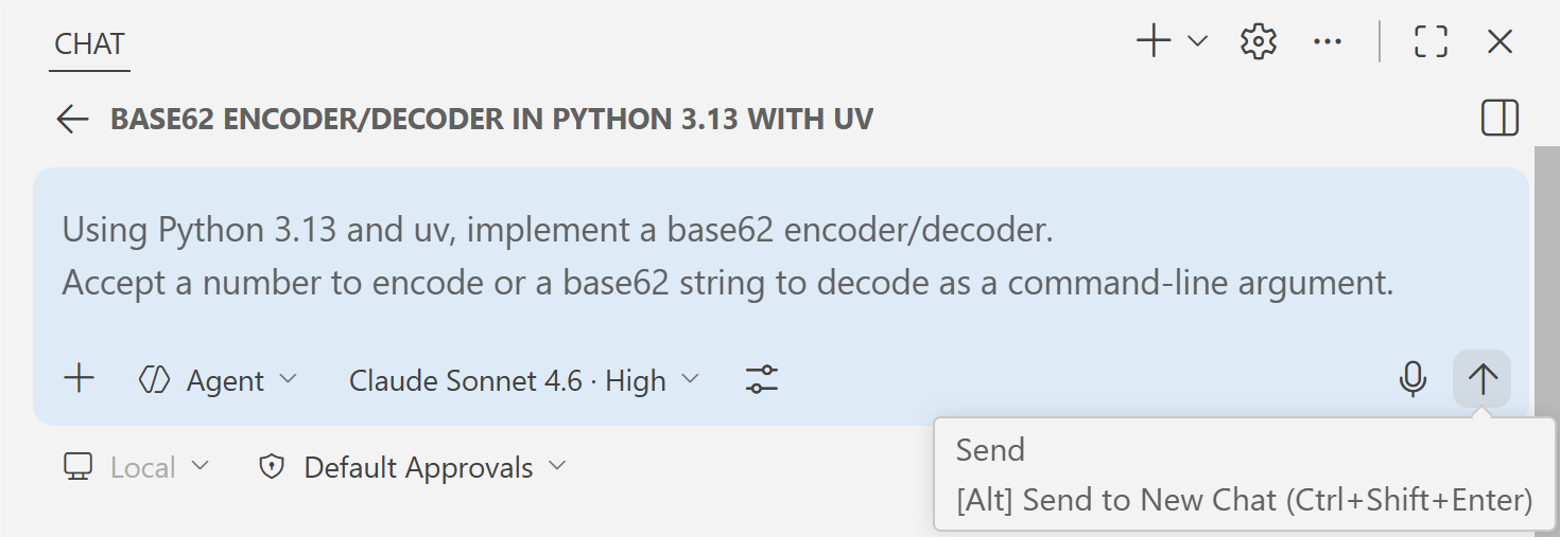
For example, instead of sending a second message, rewrite the original prompt like this:
Using Python 3.13 and uv, implement a base62 encoder/decoder.

Accept a number to encode or a base62 string to decode as a command-line argument.
Steering while the agent runs
Sometimes you send a prompt and realize partway through that you want to change direction. You don't have to wait for the agent to finish and then undo - you can steer it mid-run.
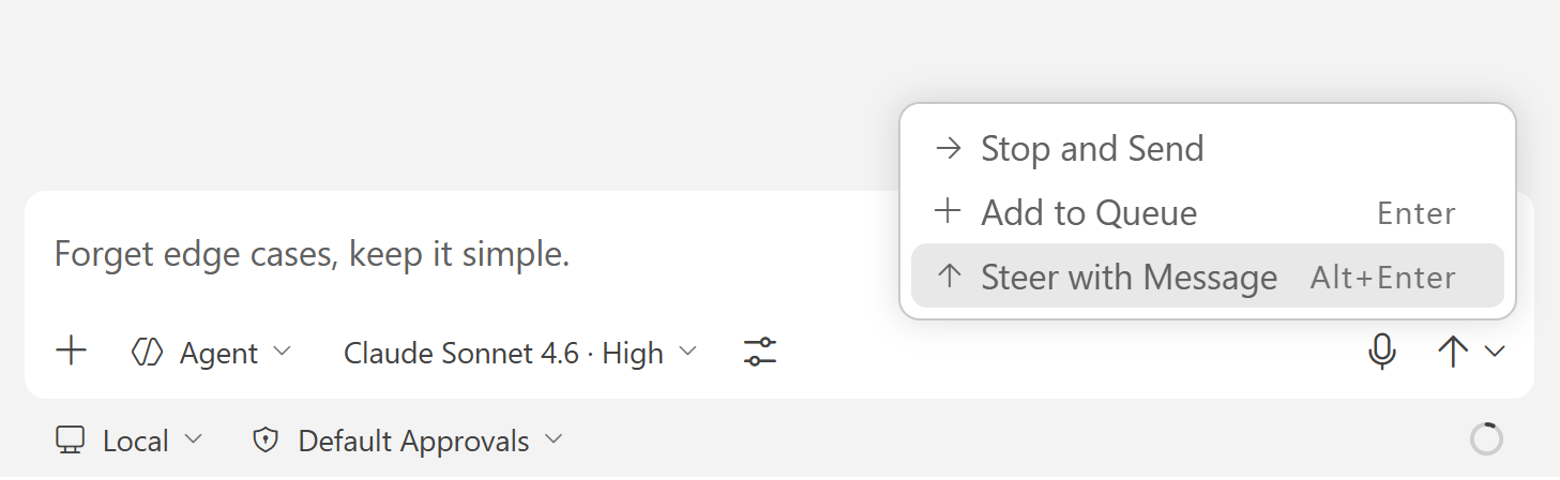
While the agent is working, the Send button becomes a dropdown with three options.
Add to queue
Holds your message and delivers it after the current response finishes. The agent completes its current work uninterrupted, then picks up your message next.
Use this when you want to add something without interrupting the current flow.
Steer with message
Signals the agent to yield after it finishes its current tool call, then processes your message immediately. The agent adjusts course without you having to cancel and lose what it's already done.
This is the go-to option for mid-run course corrections.
Stop and send
Cancels the current request entirely and sends your message as a fresh start. Use this when the agent has gone clearly off-track and continuing is wasteful.
Steer is for adjusting direction. Stop and Send is for starting over. Most of the time, Steer is what you want.
Checkpoints and restore
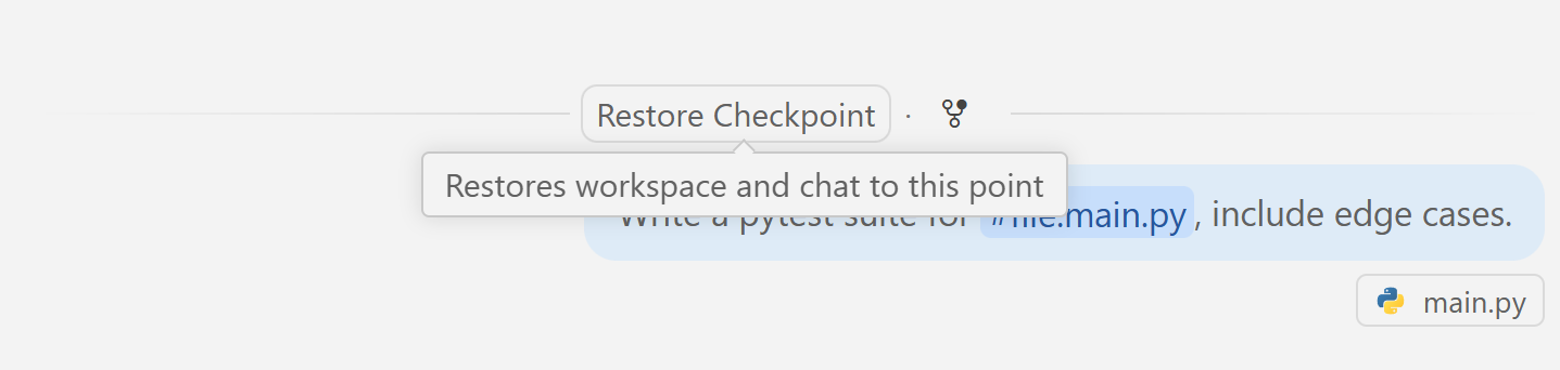
Every agent response in the chat is a checkpoint. Hover over any response to find Restore Checkpoint.
Restoring a checkpoint rolls your workspace back to the state it was in at that point in the conversation. The code reverts and the conversation history rolls back as if you never sent those subsequent messages. No manual cleanup, no git stash - it's a clean rollback.
This is your safety net. You can try something, see where it goes, and if it's not the direction you wanted, walk it back completely.
Forking a session
Next to Restore Checkpoint is Fork.
- Restore takes you back. Everything after that checkpoint is gone, and you continue in the same session.
- Fork creates a new independent session starting from that checkpoint. The original session stays intact.
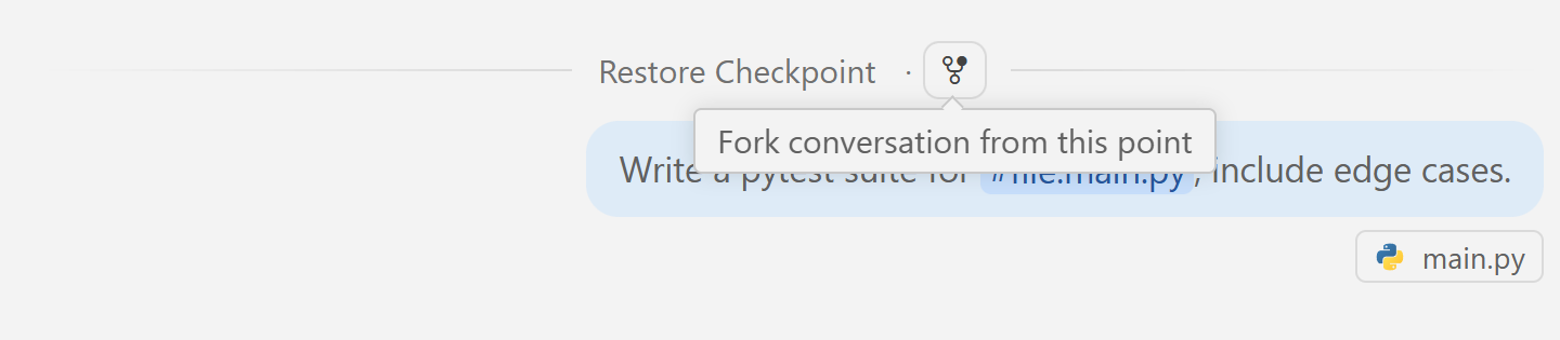
After forking, you have two sessions: the original, continuing as it was, and the fork, starting fresh from that checkpoint and going in a new direction. Neither session affects the other.
You can also type /fork in the chat input to fork from the current point.

When to fork:
- Explore a different architectural direction without losing current work.
- Take the project toward an API while keeping a CLI version intact.
- Compare two approaches side by side.
Forks don't just protect against losing work - they change how boldly you can experiment. When you know you can always go back or branch off, you're free to try riskier approaches.
Common patterns
Cleaning up a prompt retroactively
Edit the original message and resend instead of stacking corrections. Cleaner history, cleaner response.
Mid-run change of plans
Use Steer with Message so the agent adjusts without stopping. The agent finishes its current action, reads your new direction, and adjusts.
Something went wrong and needs a clean rollback
Use Restore Checkpoint to go back to the last clean state before the wrong turn.
Exploring two approaches at once
Use Fork to create a second branch and try the alternative. Both sessions run independently and you can compare results.
What's next
With the files changed view, per-change controls, message editing, steering, and checkpoints, you have complete control over what the agent produces and where the session goes.
In the next guide, you will manage multiple agents at the same time and compare local, background, and cloud execution.