Introduction to agent-first development
How you write code is changing. You can still write every single line yourself, and that might be appropriate for specific use cases. But another pattern is emerging across the industry, using agents in programming, often called agentic programming or agent-first development.
Instead of writing each line, you direct an AI coding agent to read your codebase, make edits, run commands, fix its own mistakes, and accomplish work. These agents operate in a loop. You give direction, the agent acts, you course-correct, and repeat until you reach your goal.
This guide covers everything needed to kick off a first agent session with VS Code and GitHub Copilot.
Before you start, install VS Code and set up GitHub Copilot.
The five pillars of great agent results
Agents are not magic. Great results come from five things working together.
- Harness - the software layer that connects the model to your tools and workspace.
- Model - the AI that does the reasoning and generates the code.
- Context - the files, instructions, and details that help the agent understand your project.
- Tools - the actions an agent can execute, such as reading files, running commands, and searching.
- Prompt - the instructions you give the agent.
Get all five right, and agents accomplish significantly more. Miss one, and results become unfocused.
The harness
In VS Code, the GitHub Copilot Chat panel is your harness. The harness is the software layer that wraps around the model and handles everything except the thinking.
You can think of the harness like a wiring harness in a car. The engine still does the work, but the harness connects it to the dashboard, controls, and sensors so that power becomes usable.
The harness gives the agent:
- Eyes into your workspace, so it can read and understand your files.
- A terminal, so it can run commands and execute code.
- Edit capabilities, so it can apply changes directly to your codebase.
Agent modes
The harness also controls how autonomous the agent gets through three modes.
| Mode | Behavior |
|---|---|
| Ask | Back-and-forth conversation. No edits and no commands. |
| Plan | Outlines what it would do, but waits for approval before acting. |
| Agent | Full autonomy. It plans, executes, and iterates until the task is done. |
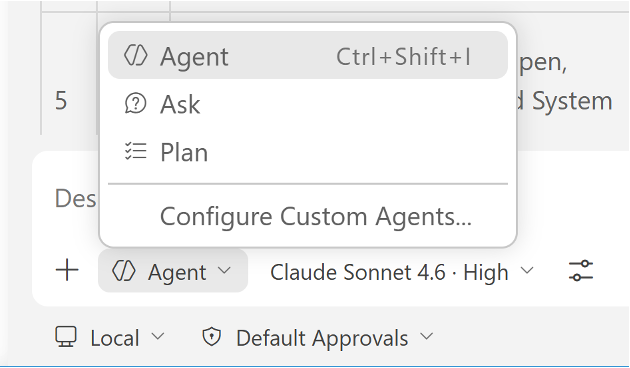
If you are getting started, Ask or Plan is a good entry point. Once you are ready to implement, switch to Agent mode.
The model
GitHub Copilot gives you a choice of models through the model picker. The model is the AI that does the reasoning and generates the code.
You can control how deeply the model thinks through thinking effort levels.
- Low, less reasoning and faster responses. Best for formatting, boilerplate, and simple fixes.
- Medium, balanced reasoning and speed. Good for refactoring, code reviews, and standard implementations.
- High, maximum reasoning depth. Best for architecture decisions, multi-file refactors, and difficult debugging.
There's also Auto, which selects the best available model based on capacity and performance - reducing rate limiting, latency, and errors.
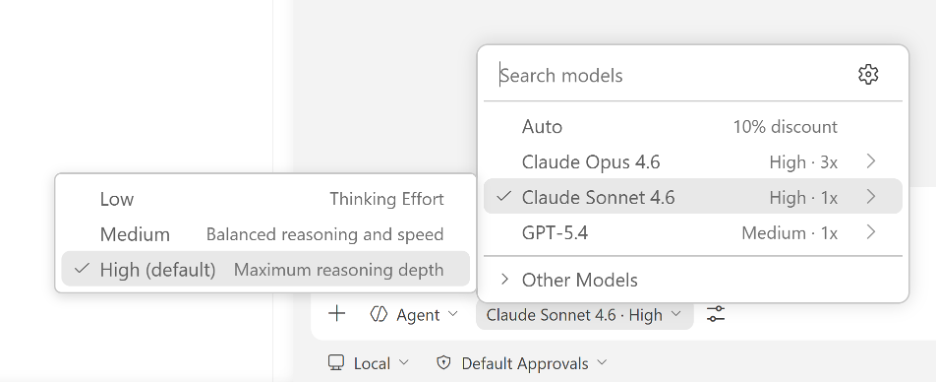
Match thinking effort to the task. Simple work? Low. Standard coding? Medium. Hard problem? High.
The prompt
The prompt is the message you send to the agent, your instructions, goals, and requirements. It is the biggest lever you have over output quality.
Here is a basic prompt to get started.
Before continuing, make sure you have Python 3.13 or later and uv installed. The agent uses both to set up and run the project.
Using Python 3.13 and uv, implement a base62 encoder/decoder.
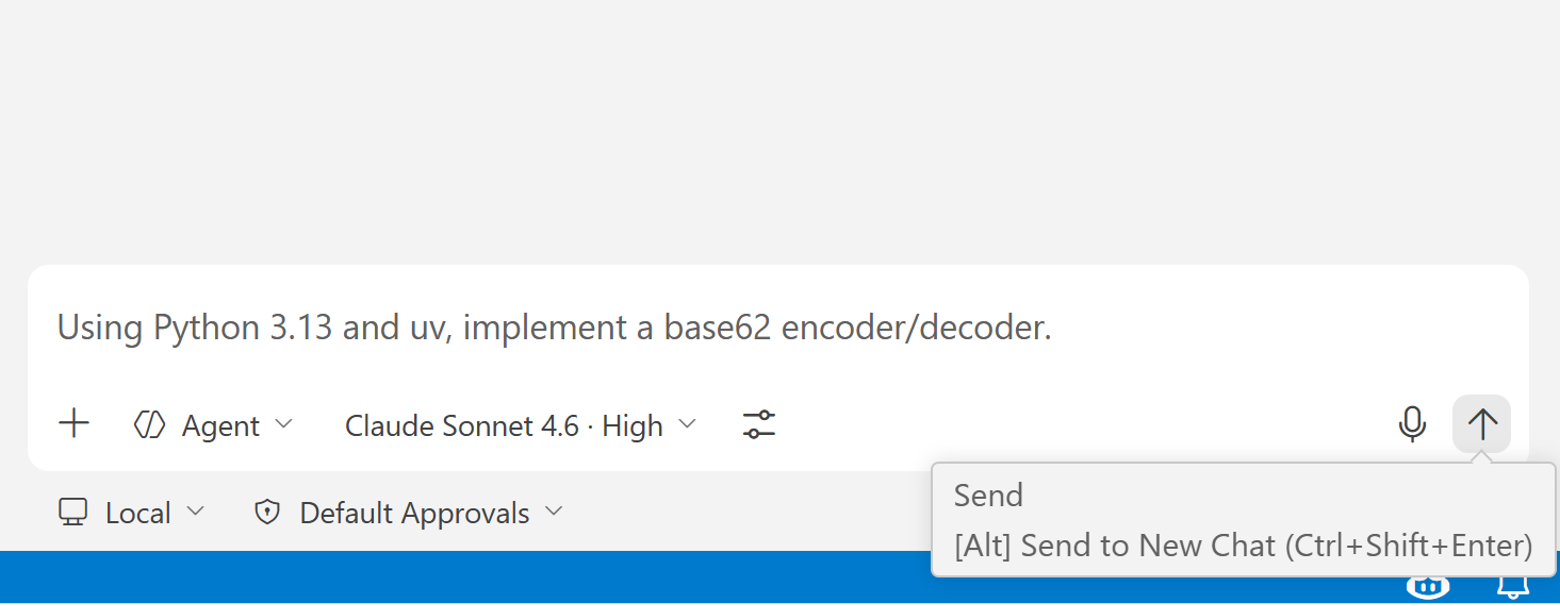
This gets the agent started, but the more specific you are, the better the results. Reference existing files, specify the pattern to follow, and define the scope clearly. We'll cover prompt strategies in depth in later guides.
Context
Context is everything the agent uses to understand your codebase, files, conversation history, instructions, and search results. Models are trained on general information, but they need context about your codebase to do useful work.
The agent can gather context automatically by searching your workspace and reading files. You can also provide it yourself.
- Select the
+icon in the chat input to attach specific files or folders. - Type
#to reference specific context sources such as#codebase,#file, or#fetch.
Context is a balancing act. Too much information confuses the agent. Too little leaves out the specifics it needs. A dedicated guide covers context strategies in more depth.
Tools
Tools are the actions an agent can execute. Every action you see the agent take, reading a file, writing code, or running a command, is a tool call. You can view all available tools by selecting the tools icon in the Chat input.

The built-in tools include:
| Tool | What it does |
|---|---|
| read | Read files in your workspace. |
| edit | Edit files in your workspace. |
| execute | Run commands and execute code on your machine. |
| search | Search for files and symbols across your workspace. |
| browser | Open and interact with web pages. |
| web | Fetch information and documentation from the web. |
| agent | Delegate tasks to sub-agents. |
| vscode | Use VS Code features and commands. |
| todo | Manage and track todo items for task planning. |
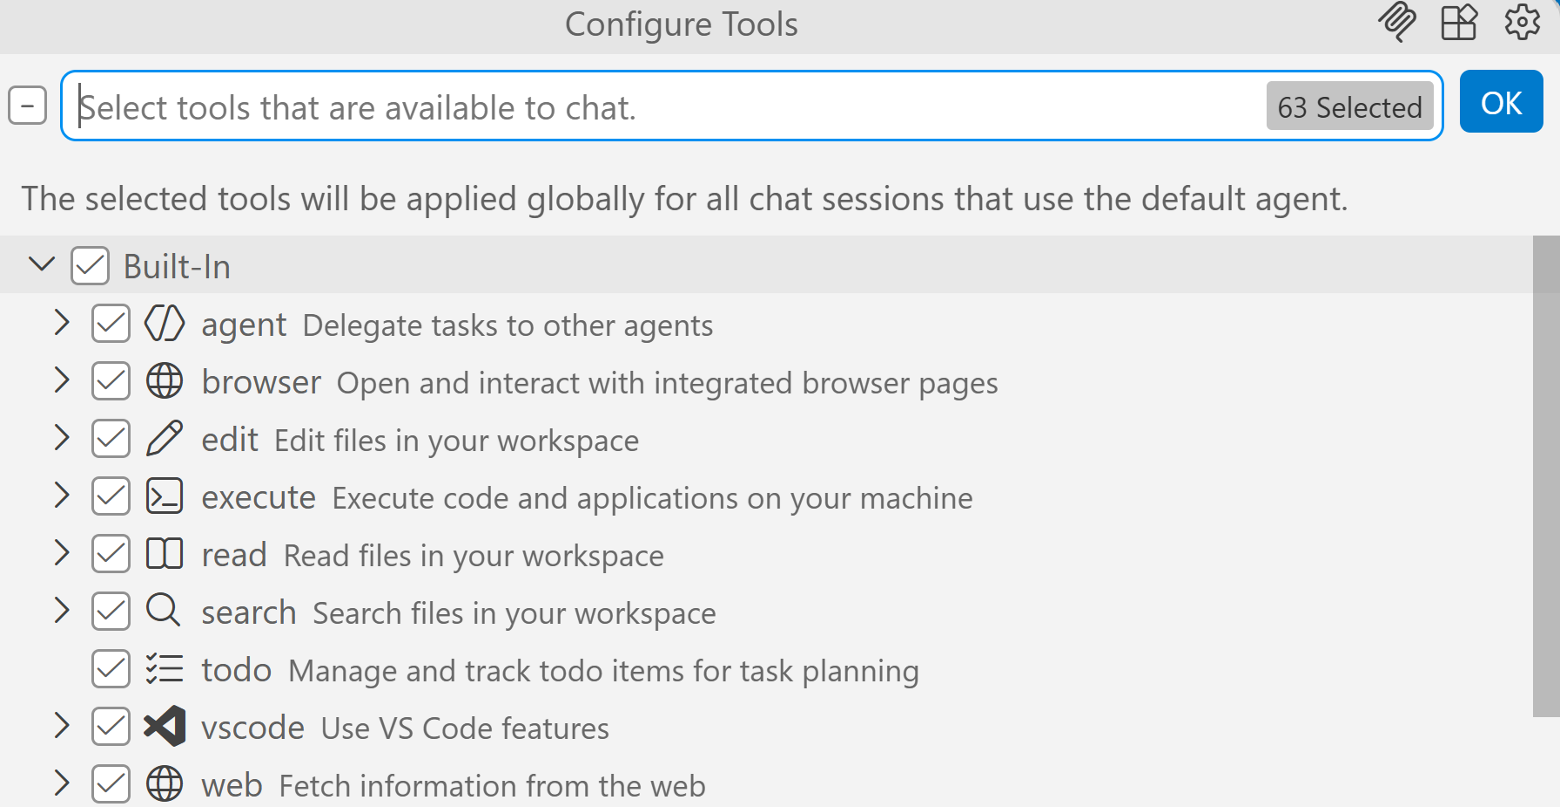
Each tool has a checkbox, so you can enable or disable it per session. More tools mean more capability, but too many tools can confuse the agent about which ones to use. Keep the tool set selective for the task at hand.
You can extend this set by adding tools through MCP servers and VS Code extensions, which we will cover in a later guide.
Approvals
When the agent wants to run a terminal command for the first time, it pauses and asks for permission. The agent does not run commands on your machine without asking first.
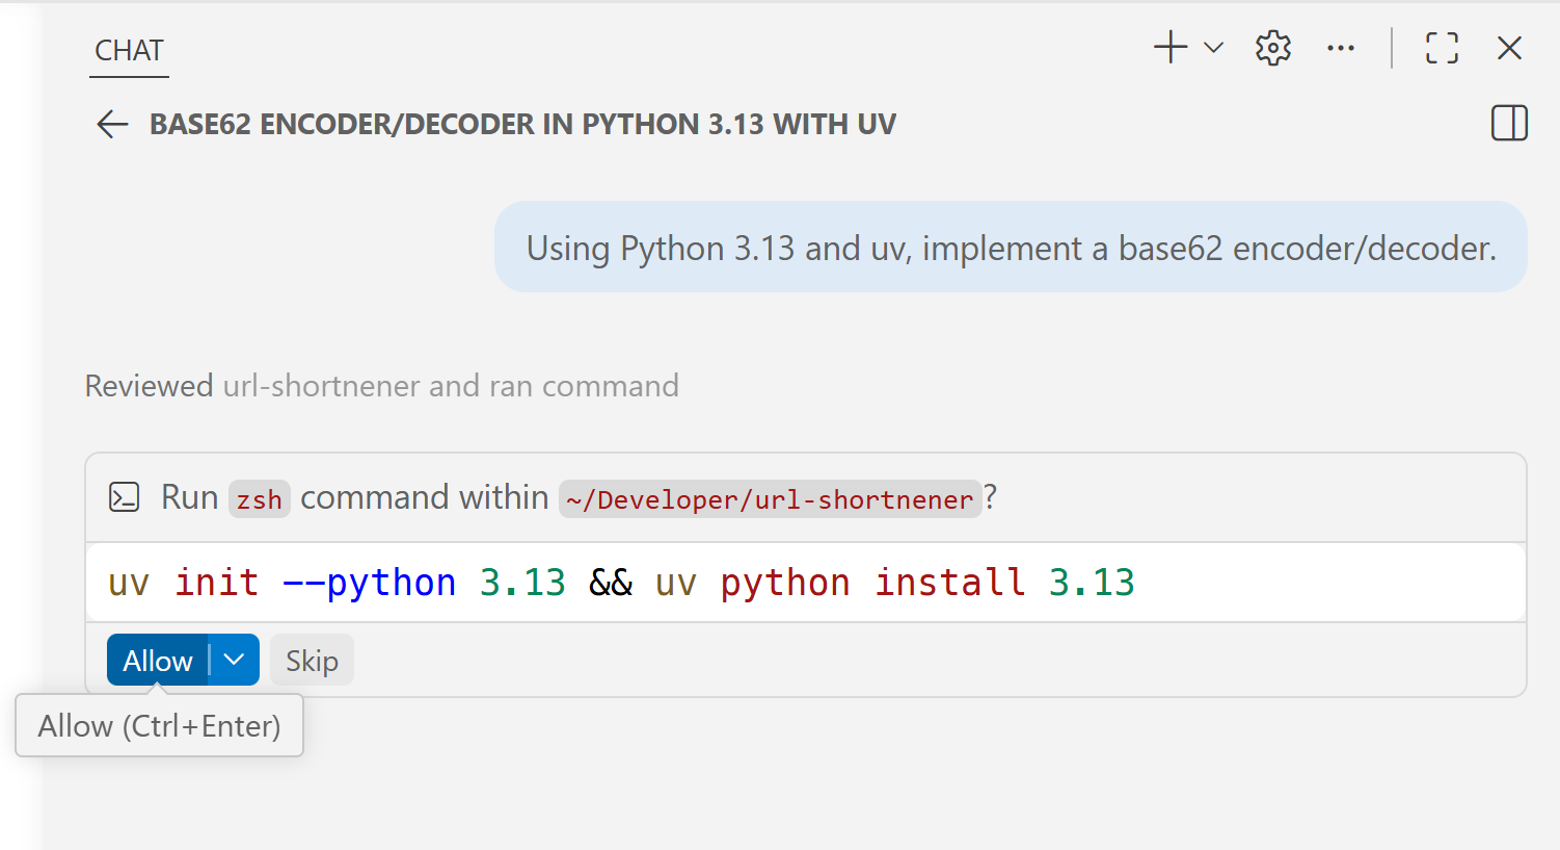
Review the command and select Allow if it looks right. If something looks off, select Skip and correct the direction.
What's next
You now have the mental model for what drives great agent results, harness, model, context, tools, and prompt. The agent is already capable of building real things - now it's about learning how to direct it well.
In the next guide, we'll cover the approval system in depth, look at how to control agent autonomy, and understand how to monitor your context budget as a session runs.