Customize agent behavior in Visual Studio Code
AI agents write great code but don't know your codebase, team conventions, or the workflows you repeat every day. By adding agent customizations, you share that context to make the AI's responses match your coding standards, project structure, and common tasks.
Visual Studio Code gives you several ways to provide this context, from project-wide instructions to specialized agent personas and access to external tools. This article introduces the customization options and helps you get started. You can manage customizations from both the Chat view and the Agents window.
Learn about the different customization types and when to use each one.
What each customization gives you
Customization pays off in concrete ways: you stop repeating context, get consistent on-standard output, and turn multi-step chores into a single command. You can also connect the AI to your own tools and data, and share one setup across your team. Each customization type targets a different one of these needs:
- Instructions: Write your coding standards and conventions once, and the AI applies them automatically to every request. No more repeating "use our logger" or "follow our ESLint config" in each prompt.
- Agent skills: Teach the AI a repeatable capability, bundled with scripts, examples, and resources, that it loads on its own when a task matches. For example, a full test, lint, and deploy routine.
- Custom agents: Give the AI a focused role with its own instructions, allowed tools, and model, such as a read-only planner or a security reviewer. Switch roles in one step instead of re-explaining them each time.
- MCP servers: Connect the AI to your own tools, databases, and services to work with real project data, not just code. For example, query your database or file an issue.
- Hooks: Run your own commands automatically at key points in the agent's loop, such as formatting after every edit or blocking risky commands. You get deterministic guardrails that don't rely on the model remembering.
- Agent plugins (preview): Install a ready-made bundle of the customizations above from a marketplace, and adopt a proven workflow without building it yourself.
- Prompt files: Save a reusable prompt that you invoke as a slash command, such as
/scaffold-componentor/prep-pr. Turn a paragraph of instructions into one command.
To compare these options and decide which one fits a given goal, see Customization concepts. The rest of this article focuses on how to set up and manage customizations.
Get started incrementally
Adopt customizations gradually rather than all at once. Start with project-wide instructions, then add more specific customizations as you identify recurring needs. For a hands-on walkthrough, see the Customize AI for your project guide.
-
Set up project instructions: type
/initin chat to generate a.github/copilot-instructions.mdfile with coding standards tailored to your codebase. -
Add targeted instructions: create
*.instructions.mdfiles that apply to specific languages, frameworks, or folders in your codebase. -
Automate repetitive tasks: package multi-step workflows, scripts, and template files as agent skills that the AI loads when a task matches.
-
Specialize the AI for specific roles: create custom agents with their own instructions and tools for roles like a code reviewer or planner.
-
Connect external tools and data: add MCP servers and hooks to extend the AI with external services and custom actions.
You can generate customization files with AI. Type /create-instruction, /create-prompt, /create-skill, /create-agent, or /create-hook in chat to scaffold a new customization with AI assistance.
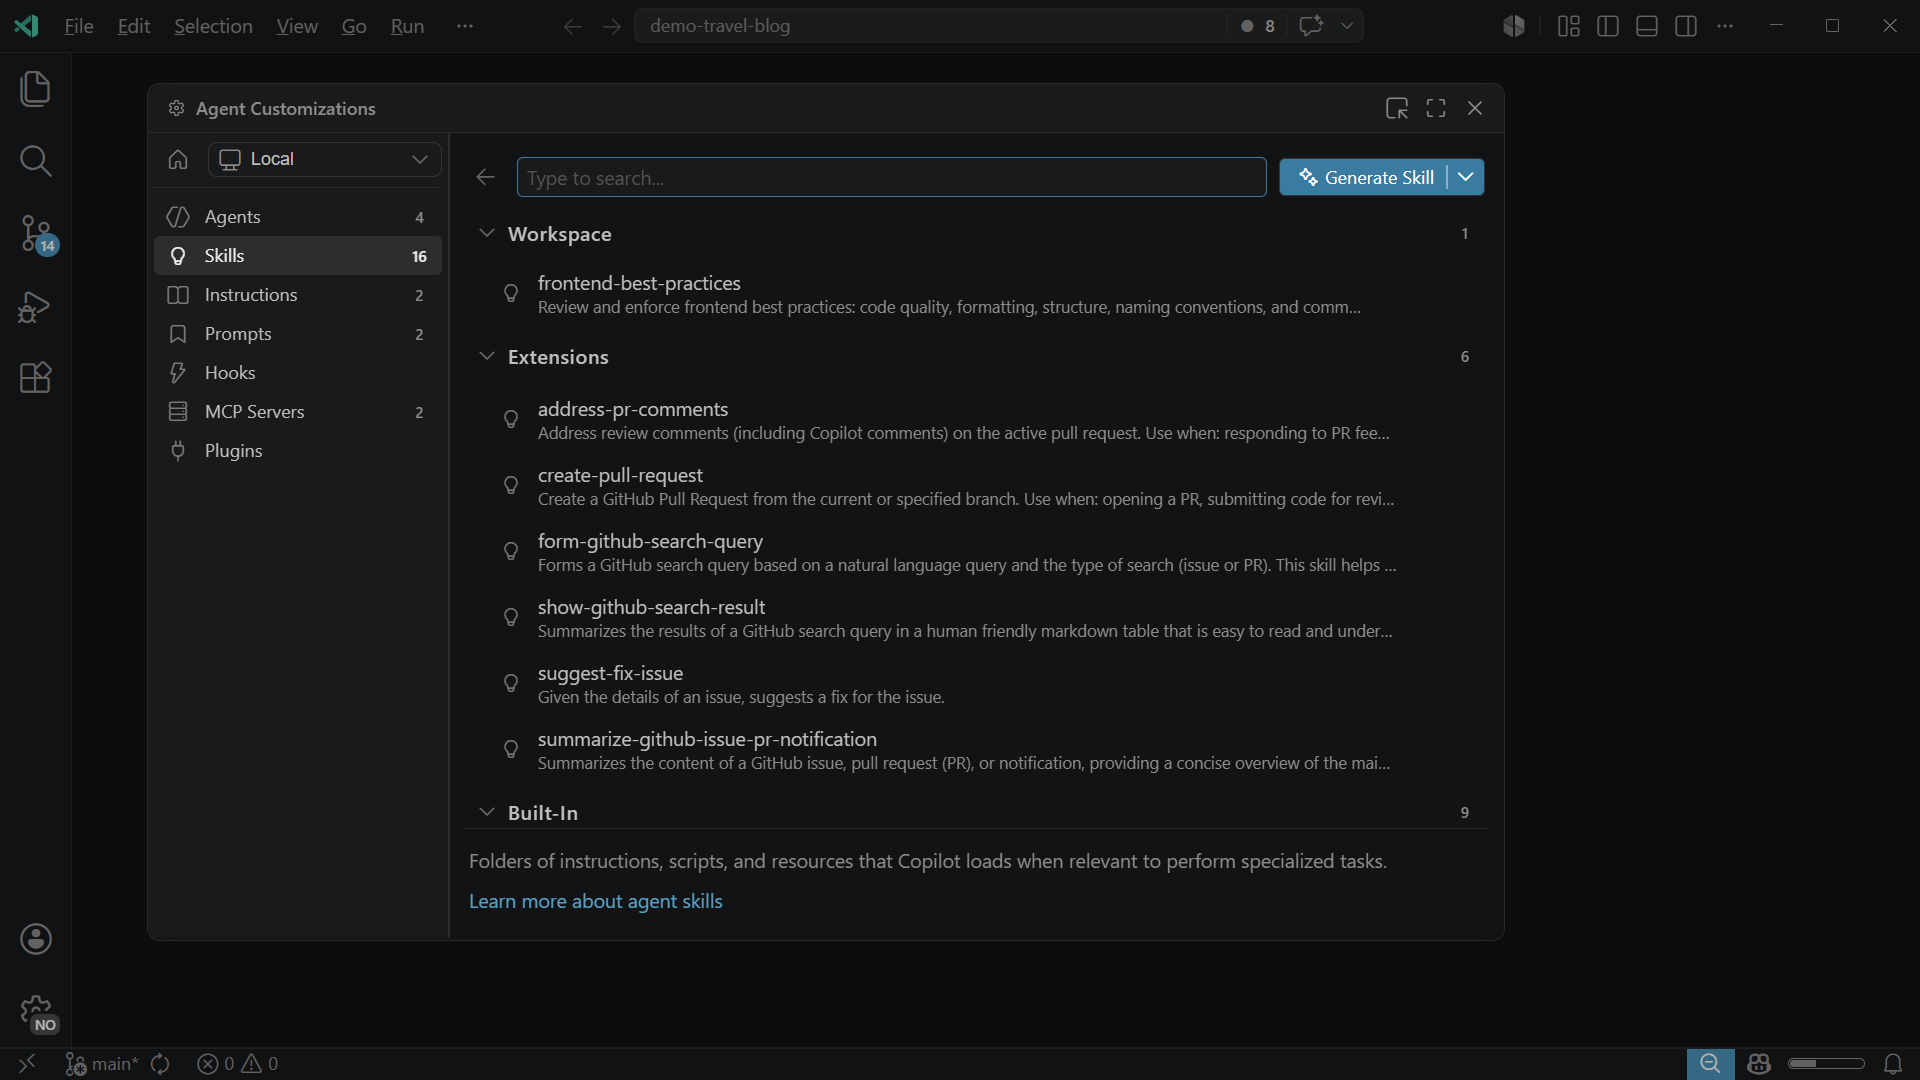
Use the Agent Customizations editor
The Agent Customizations editor is currently in preview.
The Agent Customizations editor provides a centralized UI for creating and managing all your agent customizations in one place. The editor organizes the different customization types into separate tabs and provides an embedded code editor for editing customization files with syntax highlighting and validation.
You can create new customizations from scratch by editing the corresponding Markdown, or use AI to generate initial content based on your specific project.
To add MCP servers and agent plugins, you can browse the corresponding marketplace directly from the editor, install new items, and manage existing ones.
You can open the Agent Customizations editor from either chat surface:
In the Agents window, select a customization type in the Customizations panel below the sessions list.

In the Chat view, select the Configure Chat (gear icon) or run Chat: Open Customizations from the Command Palette (⇧⌘P (Windows, Linux Shift+cmd+P)).
You can configure customization for different agent types: local agents, Copilot CLI, and the Claude agent. Select the agent type from the dropdown at the top of the editor to view and manage customizations for that agent type.
Evaluate and improve customization files (Preview)
As your collection of customization files grows, it can be hard to tell whether they actually guide the AI the way you intend. Vague wording, contradictory rules, or overly complex instructions can degrade results. The Chat Customizations Evaluations extension helps you catch these problems before you rely on a customization, by analyzing your files and suggesting concrete improvements.
The Chat Customizations Evaluations extension is currently in preview and is published separately from VS Code. Install it from the Visual Studio Marketplace.
The extension works with skill files (SKILL.md), custom agent files (*.agent.md), instructions files (*.instructions.md), and prompt files (*.prompt.md).
Open an customization file and run the Chat Customizations Evaluations: Analyze command from the Command Palette (⇧⌘P (Windows, Linux Shift+cmd+P)). The extension uses GitHub Copilot to detect issues such as:
- Logical, behavioral, and format contradictions
- Ambiguous wording, with suggested rewrites
- Conflicting persona traits and tone drift
- Excessive cognitive load from deeply nested conditions
- Gaps in intent handling and missing error paths
- Conflicts between a file and other customization files it links to
Diagnostics appear in the Problems panel (⇧⌘M (Windows, Linux Ctrl+Shift+M)) with line and column locations. After the analysis completes, select Implement Suggestions to apply the suggested improvements.
You can also start an analysis from chat with the /analyze-prompt slash command, which summarizes the diagnostics for the active customization file directly in the Chat view.
For skill files, the extension integrates with the Waza evaluation framework to measure how well a skill performs against a set of test cases. Run Chat Customizations Evaluations: Download Waza Binary to install Waza, Chat Customizations Evaluations: Create Waza Eval Scaffold to generate evaluation files for the active skill, and Chat Customizations Evaluations: Run Waza Evaluation to run the suite. For step-by-step guidance, run Chat Customizations Evaluations: Open Analysis and Fix User Guide.
Use customizations in a monorepo
In monorepo setups, you might open a subfolder of a repository in VS Code rather than the repo root. By default, Visual Studio Code only discovers customization files within your open workspace folder(s). Enable the chat.useCustomizationsInParentRepositories setting to also discover customizations from the parent repository.
When this setting is enabled, VS Code walks up the folder hierarchy from each workspace folder until it finds a .git folder. If found, it collects customizations from all folders between the workspace folder and the repository root (inclusive). This applies to all customization types: always-on instructions (copilot-instructions.md, AGENTS.md, CLAUDE.md), file-based instructions, prompt files, custom agents, agent skills, and hooks.
For example, consider the following monorepo structure:
my-monorepo/              # repo root (has .git folder)
├── .github/
│   ├── copilot-instructions.md
│   ├── instructions/
│   │   └── style.instructions.md
│   ├── prompts/
│   │   └── review.prompt.md
│   └── agents/
│       └── reviewer.agent.md
├── packages/
│   └── frontend/          # opened as workspace folder
│       └── src/
If you open only packages/frontend/ in VS Code and enable the setting, VS Code discovers the customization files at the repo root, such as copilot-instructions.md, style.instructions.md, review.prompt.md, and reviewer.agent.md.
Conditions for parent repository discovery:
- The workspace folder does not contain a
.gitfolder (it is not itself a repository root). - A parent folder contains a
.gitfolder. - The parent repository folder is trusted. VS Code prompts you to trust the parent folder when the workspace is opened.
The chat.useCustomizationsInParentRepositories setting is disabled by default.
Troubleshoot customization issues
If your customizations aren't being applied or cause unexpected behavior, open the Agent Debug Logs panel to troubleshoot agent issues. Run Developer: Open Agent Debug Panel from the Command Palette (⇧⌘P (Windows, Linux Shift+cmd+P)), or in the Chat view select the ellipsis (...) menu and select Show Agent Debug Logs.