VS Code for the Web - Azure
VS Code for the Web is a zero-install and browser-based version of Visual Studio Code. The /azure (for short) environment, accessible via https://vscode.dev/azure, is a dedicated space for Azure development, allowing you to run, debug, and deploy applications to Azure in seconds.
Powered by Azure Cloud Shell, this environment offers up to 4 hours of compute time, eliminating the need to manually configure dev environments or install dependencies. /azure comes preloaded with the latest libraries, extensions, and tools to get you coding instantly.
Getting started
The /azure environment includes everything you need to start developing and deploying Azure applications:
Pre-installed extensions
Azure Developer CLI - This extension makes it easier to run, create Azure Resources, and deploy Azure applications with the Azure Developer CLI.
Supported Programming Languages
All major runtimes are pre-installed:
- Python - 3.12.9
- Java - openjdk 17.0.16 2025-07-15 LTS
- OpenJDK Runtime Environment Microsoft-11926113 (build 17.0.16+8-LTS)
- OpenJDK 64-Bit Server VM Microsoft-11926113 (build 17.0.16+8-LTS, mixed mode, sharing)
- Node.js - v20.14.0
- C# - 9.0.304
GitHub repositories
Seamlessly commit your changes directly to your GitHub repository using the GitHub Repository extension. GitHub Repositories allows you to remotely browse and edit a repository from within the editor, without needing to pull code onto your local machine. You can learn more about the extension and how it works in our GitHub Repositories guide.
Continue working in VS Code on the desktop
After the Azure Cloud Shell container time is up, you may want to continue your work in VS Code on the desktop. Use the Continue Working on button, located in the Status Bar of VS Code for the Web, to commit your code to a chosen repository in GitHub, and move over to your local environment.
Within this experience, you have two options for local continuation:
- Using Docker: Launch a pre-configured development container.
- Using VS Code Locally: Clone the repo and configure your environment using a README.
Azure entry points
The /azure experience integrates with Microsoft Foundry to bring code closer to developers. Buttons like Open in VS Code for the Web are available directly within environments like the Chat Playground and Agent Playground and the Microsoft Foundry home page. See more in the sample use cases or scenarios section.
To get started:
- Choose a model.
- Build and test your agent.
- Select View Code, and then select your programming language and SDK.
- Launch directly into VS Code using the Open in VS Code button for the Web with one click.
Alternatively, you can create an agent from the Microsoft Foundry home page:
- Open the Microsoft Foundry home page (https://ai.azure.com)
- View the suggested code snippet generated on the home page
- Select Open in VS Code for a one-click experience to create an agent based on the generated code
Additionally, developers can get started with templates using the AI App Gallery(https://aka.ms/aiapps) and select Open in VS Code to launch their template in one operation to the /azure environment.
To get started:
- Navigate to the AI App Gallery(https://aka.ms/aiapps)
- Choose a template or search for a template you'd like to run
- Select Open in VS Code from the dropdown menu
- Launch directly into VS Code and use GitHub Copilot to answer any questions you might have.
We also have integrations with the Azure portal. Developers can now access an "Open in VS Code" button from Azure Copilot when they generate code.
To get started:
- Open the Azure portal and sign in with your Azure account
- Navigate to Azure Copilot and start developing a scenario you'd like to build
- Once Copilot has generated code, select the generated code file and select Open in VS Code
- Launch directly in VS Code and use GitHub Copilot to answer any further questions.
Sample use cases or scenarios
The following are commonly used scenarios for the \azure environment.
-
Using Microsoft Foundry to create an agent
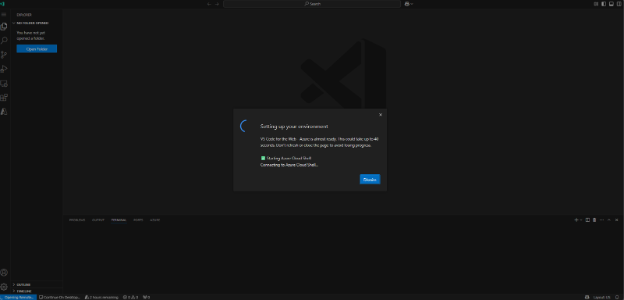
- Access the Microsoft Foundry NextGen portal and select Open in VS Code next to the code generated for your agent
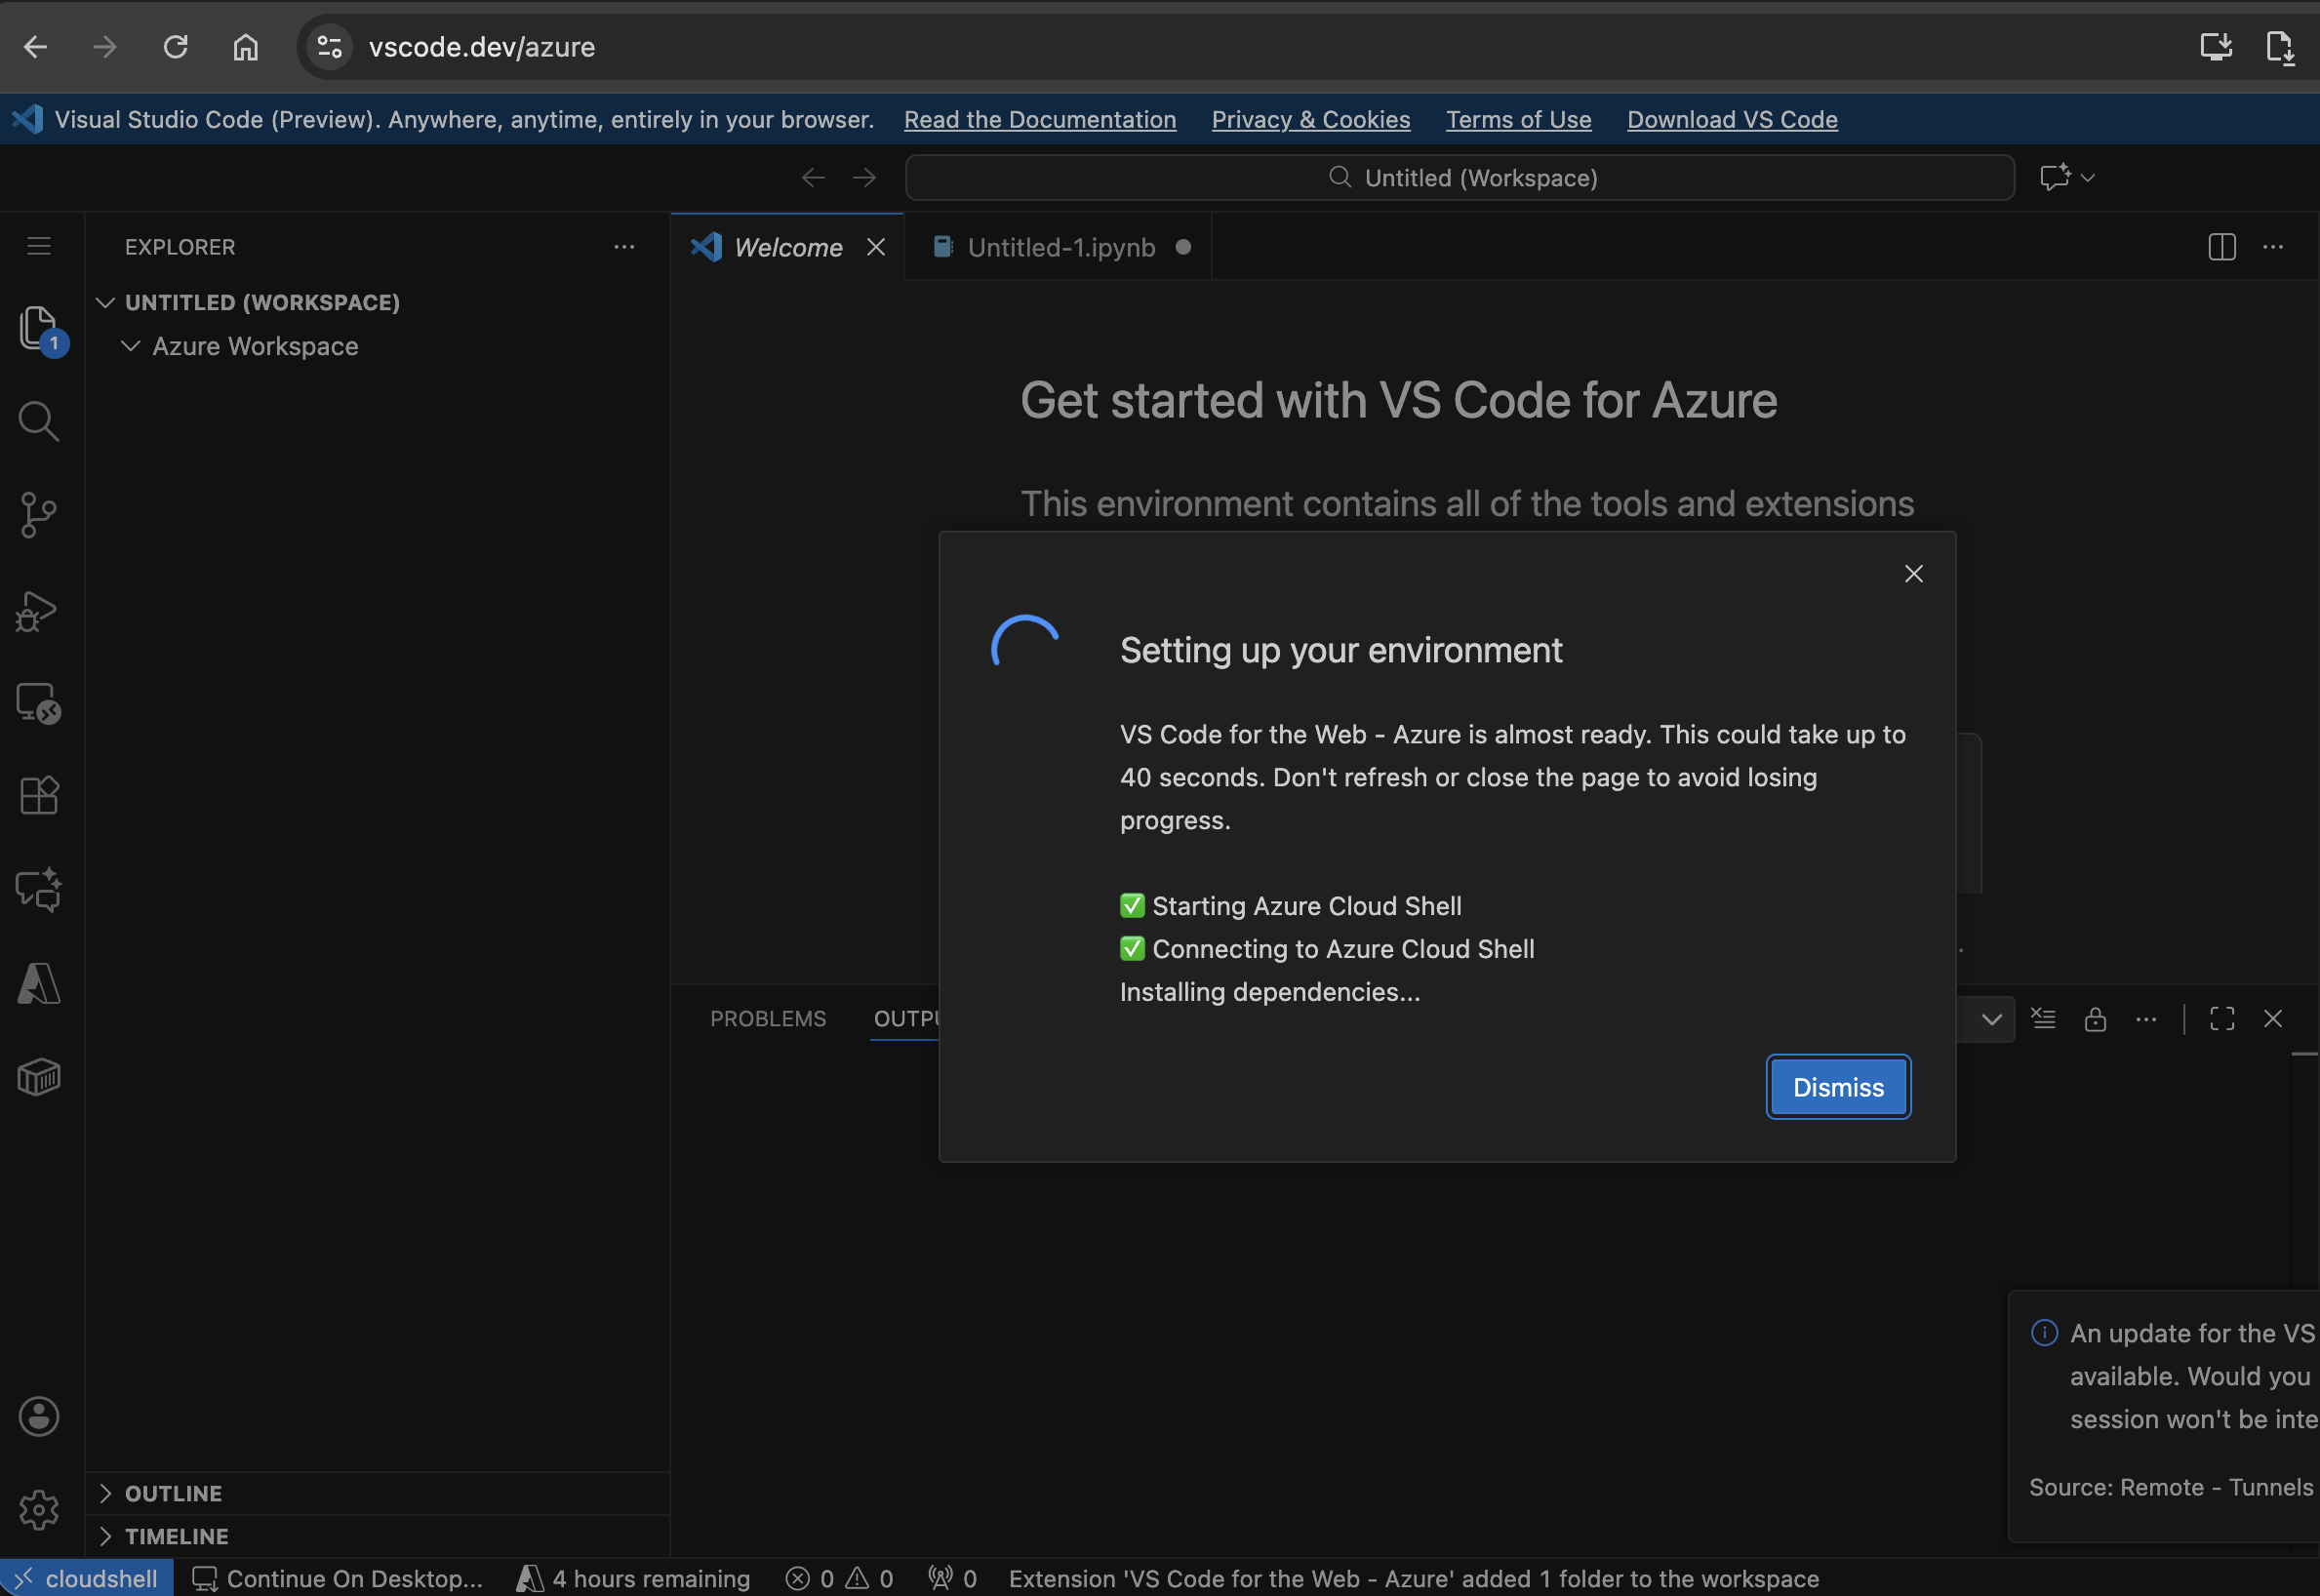
- Let the VS Code for the Web - Azure environment initialize and set up your environment
- Read the README file and follow the steps to run the create_and_run_agent.py file
- Your agent will be created and has run successfully! Continue using the Foundry Extension (pre-installed) to fine-tune your agent or follow the steps below to create an application with your agent
-
Using Microsoft Foundry to create a model deployment and open your code in VS Code
-
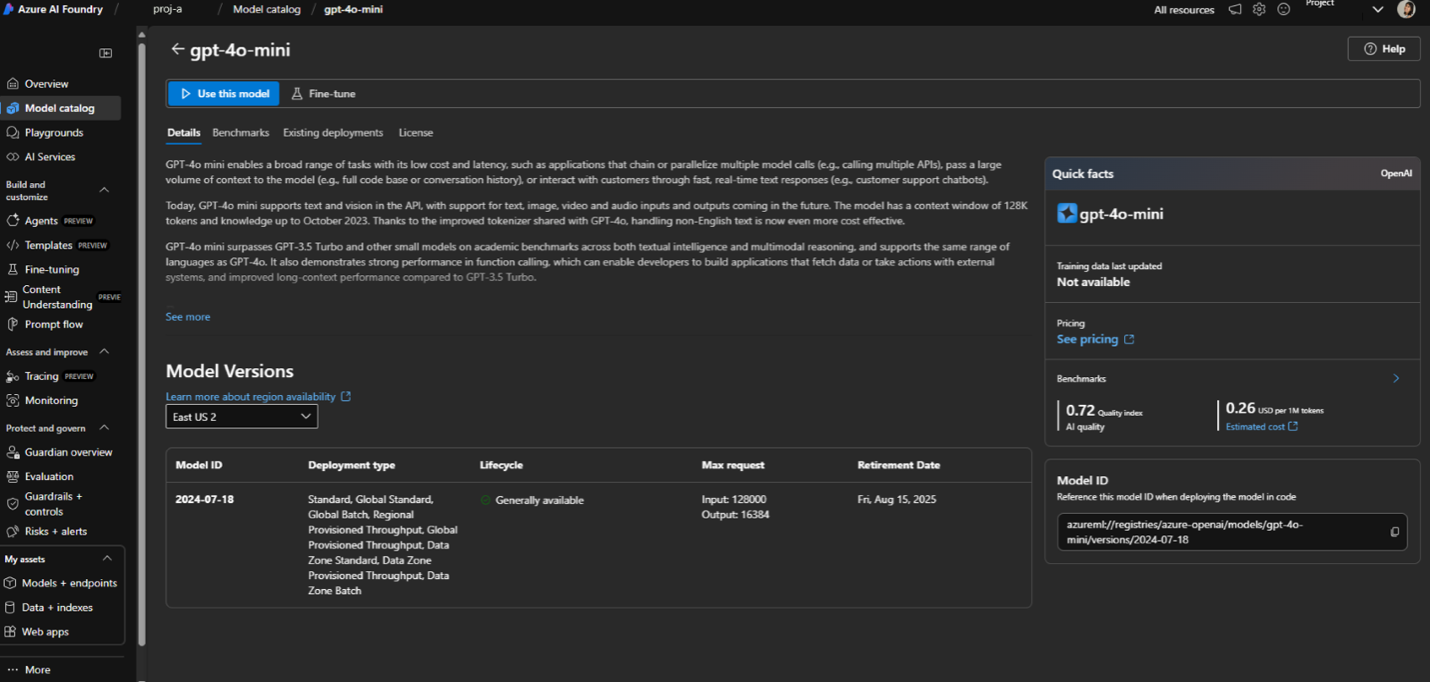
From the Microsoft Foundry portal, select the best model for your use case, including o3, o4-mini or MAI-DS-R1 from Foundry Models. In this case, we’ll use gpt-4o-mini as an example model for an agent workflow.

-
Provision the model endpoint from the gpt-4o-mini model card.
-
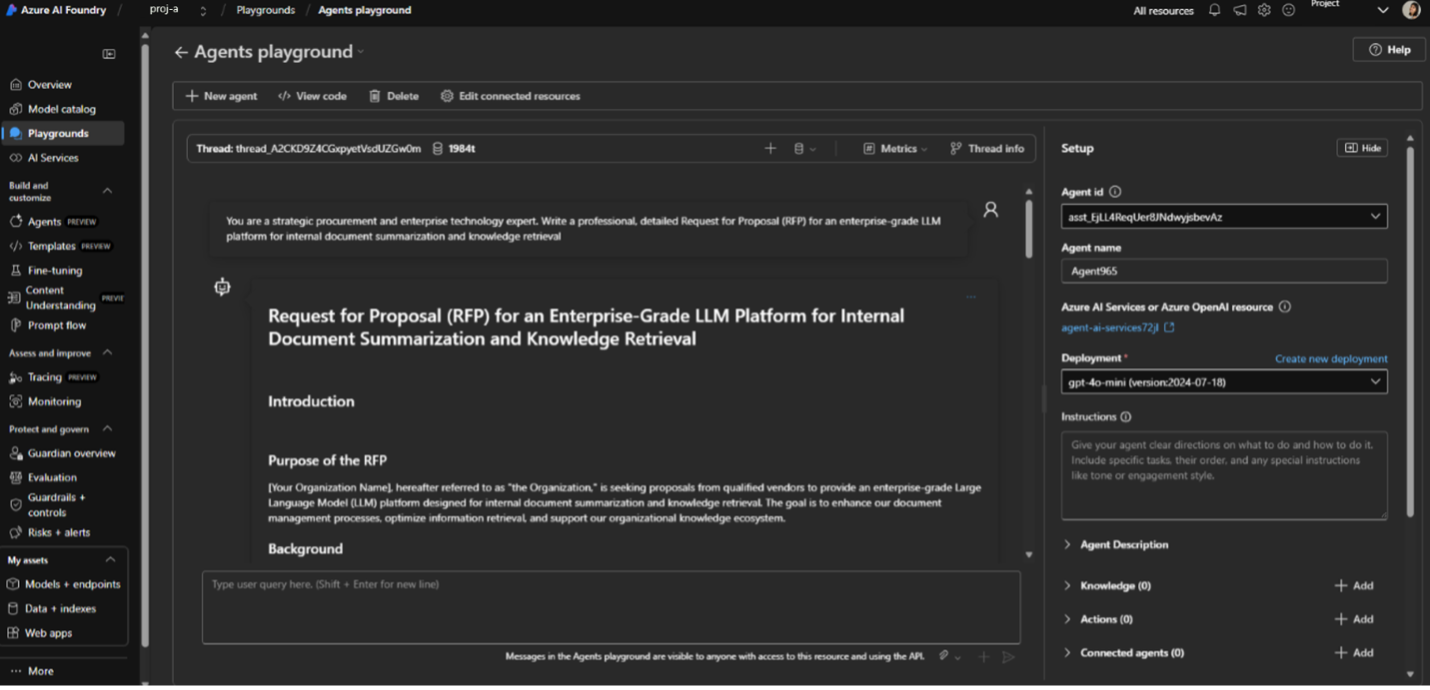
Arrive in the agents playground, alter generation controls like max responses and past messages. Add knowledge, tools, and actions.
-
Iterate on your sample prompt and continue experimentation in the agents playground.
-
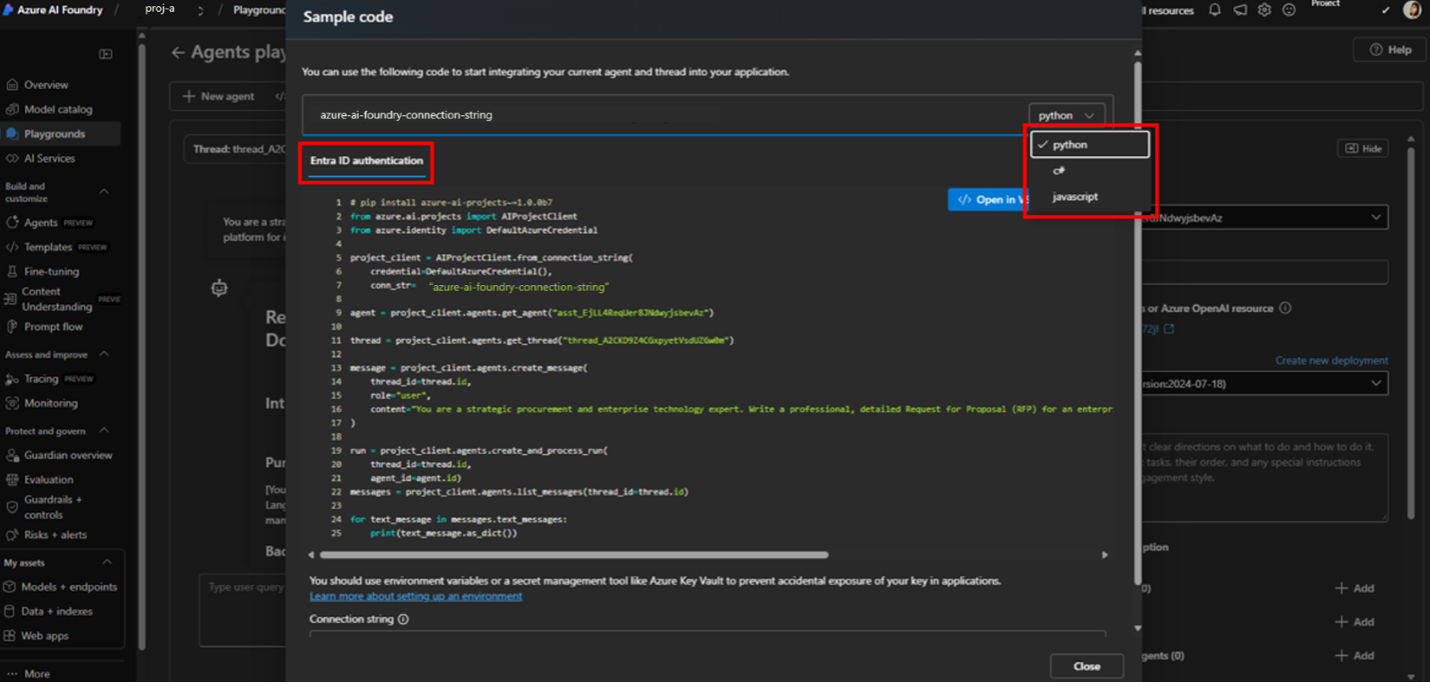
Once happy, select the View Code button to see the contextual code sample for your interaction with the agent in the agents playground.
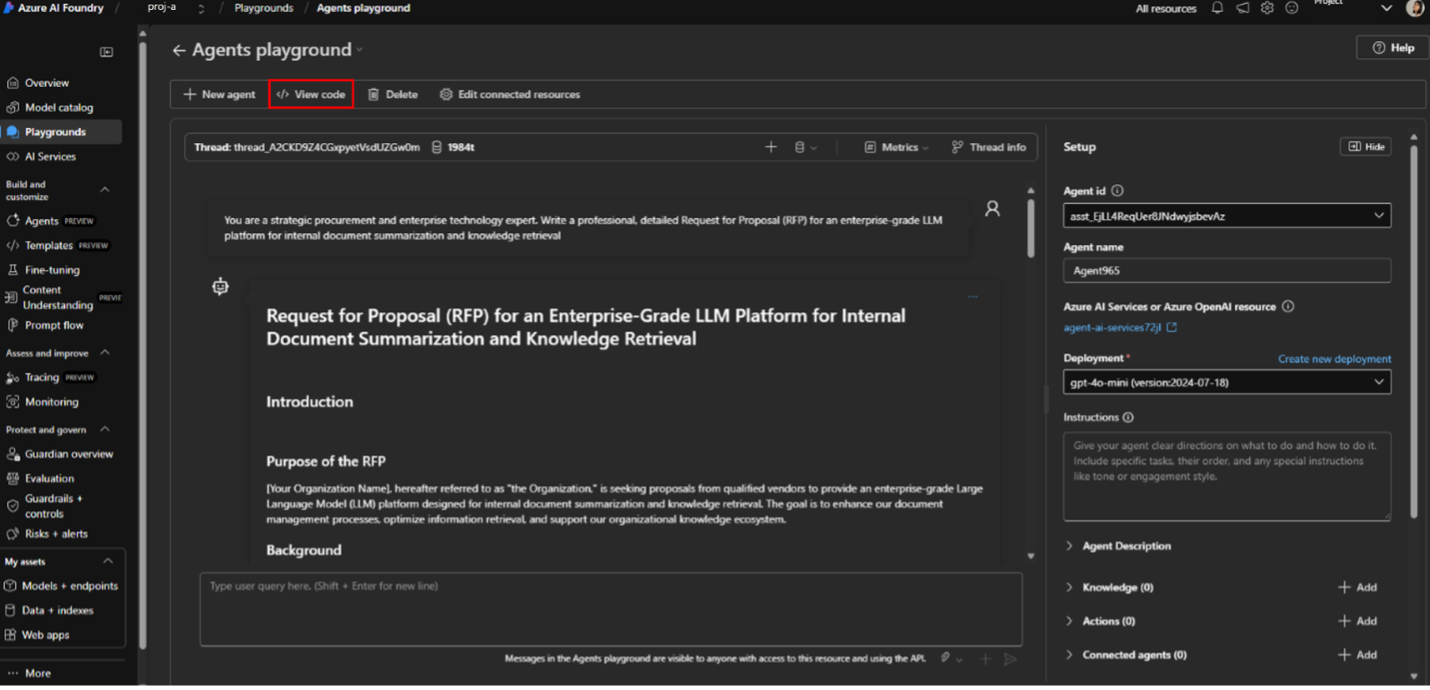
There, you can see multi-lingual code samples in Python, C#, and JavaScript for agents and with the inclusion of JSON, cURL, JavaScript, C#, and Go for models, Entra ID can be used to authenticate agents with "Key Authorization" now available for models.
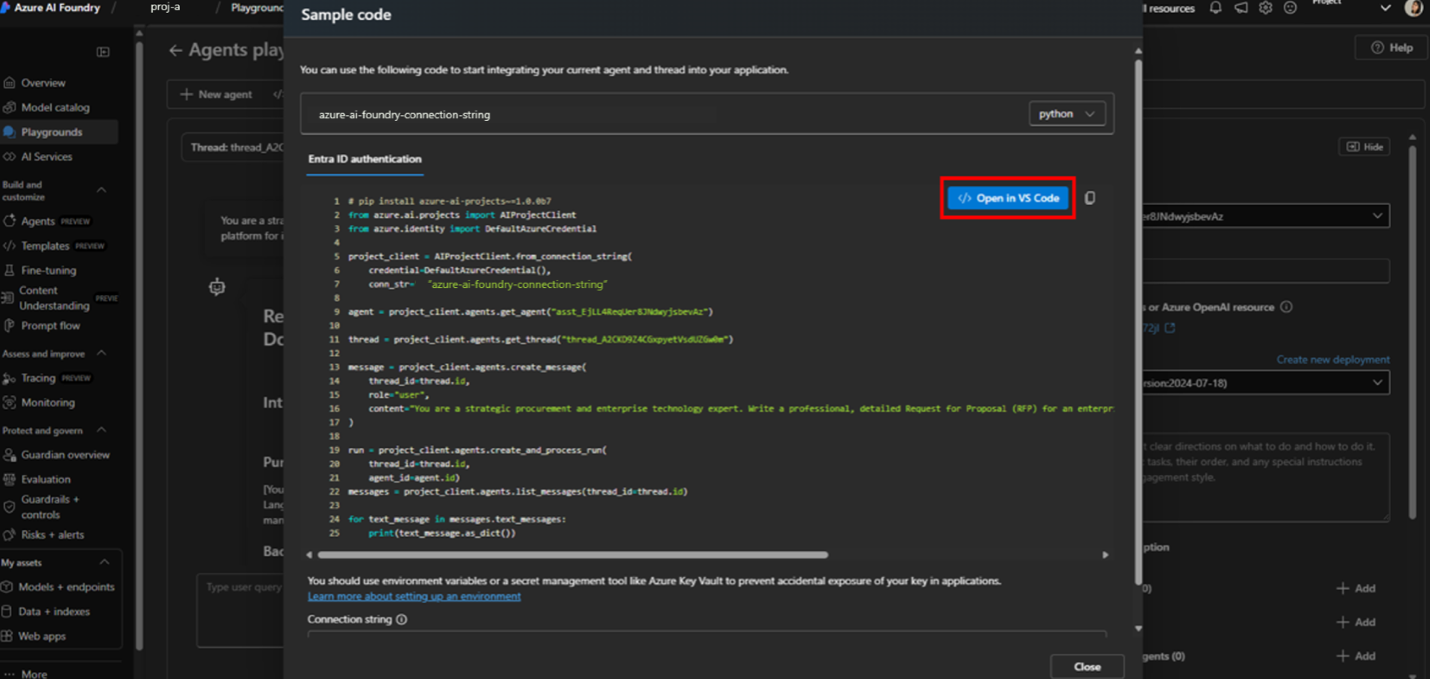
-
When ready, select Open in VS Code and be redirected to the /azure environment of VS Code for the Web.
You’ll notice that as the environment is set up, the code sample, API endpoint, and key are automatically imported into a new VS Code for the Web workspace.
In the bottom right corner, you’ll see that the API key is set in the terminal’s environment variables and that the sample code has been downloaded successfully.
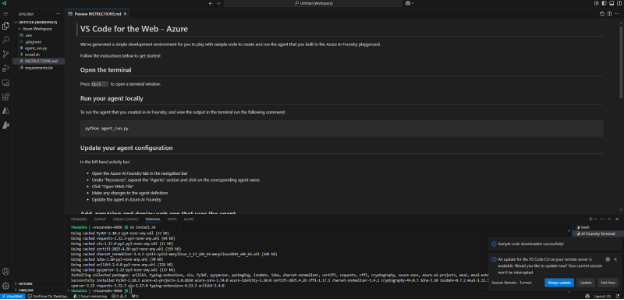
-
Run the model locally via the terminal through
python agent_run.py. Within seconds, you’ll see a successful model response.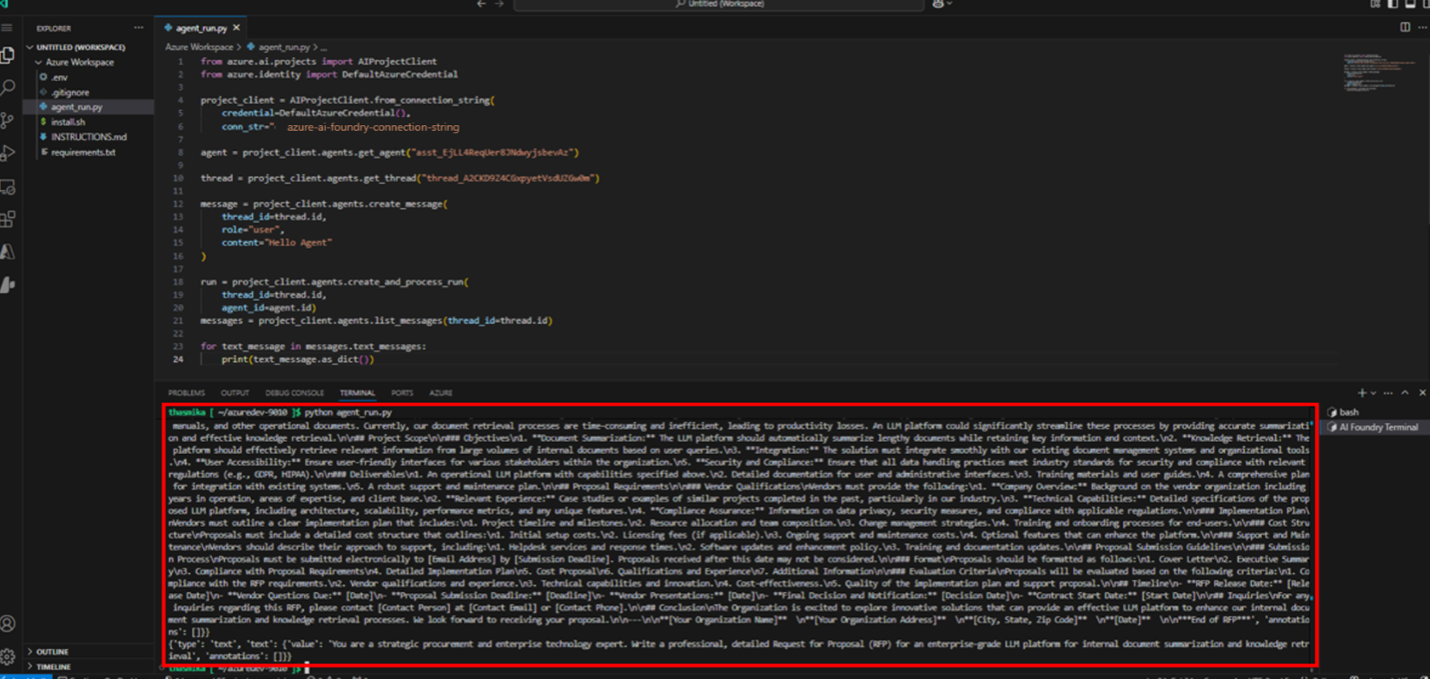
-
azdcommands can be used to provision and deploy a web app using the agent.azd initinitializes the git repo which creates a default Azure workspace where the agent can be used in an application.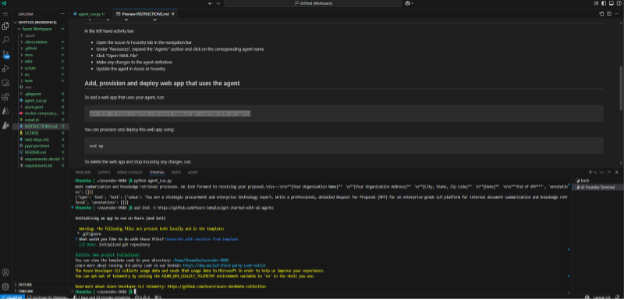
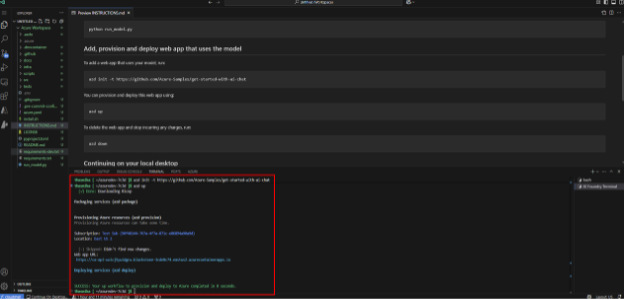
-
azd upprovisions the web app in creating the relevant Azure resources. Once done, you can see your application running in the browser by selecting the link provided in the terminal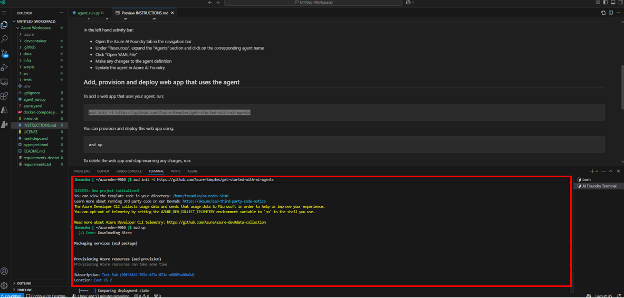
-
Continue in VS Code on the desktop or GitHub Desktop by selecting “Continue on Desktop” in the bottom left corner. This button allows you to move your workspace to your local environment in one operation. If you have a dev container attached to an existing application, you have the choice to move using that container or to your local environment.
-
-
Spinning up a quick Azure Function app
The above quick start is applicable to vscode.dev/azure since vscode.dev/azure covers all of the prerequisites:
- Python installed
- Azure Functions Core Tools installed
- You need to install these yourself:
- Azure Functions extension
-
Building and testing an AI agent using the AI Toolkit
Key features:
- Model catalog with rich generative AI models sources (GitHub, ONNX, OpenAI, Anthropic, Google, ...)
- Bring Your Own Models from remotely hosted model, or Ollama models that are running locally
- Playground for model inference or testing via chat
- Attachment support for multi-modal language models
- Batch run prompts for selected AI models
- Evaluate an AI model with a dataset for supported popular evaluators like F1 score, relevance, similarity, coherence, and more
Limitations
Although VS Code for the Web is almost at parity with VS Code on the desktop, there are some limitations to the development environment:
- No terminal access beyond Cloud Shell
- Limited support for some native extensions or language features
- No offline support
Troubleshooting
If you encounter any issues with VS Code for the Web – Azure, please log an issue in our GitHub repository
Connection issue
If you're unable to connect to https://vscode.dev/azure, you can usually fix it by resetting your Azure Cloud Shell. This can be done from the Azure Portal.
Open Cloud Shell in the Azure Portal using the button in the top right corner.

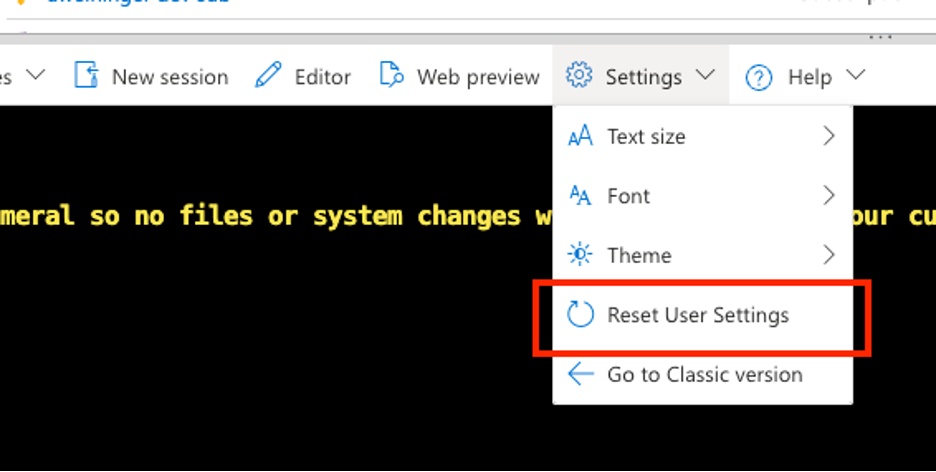
Next, in the Settings dropdown, select Reset User Settings.
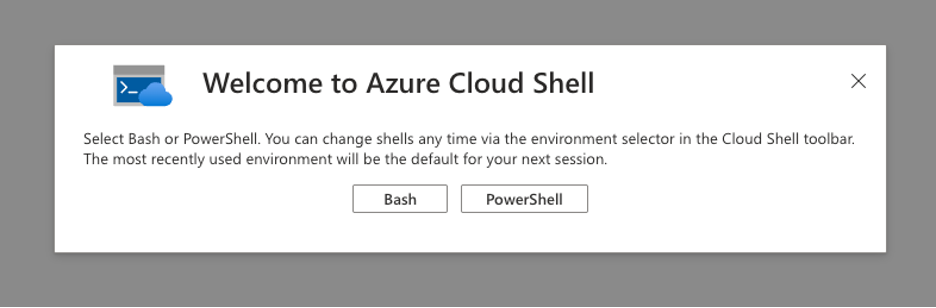
Once finished you should see this screen.
Gathering logs
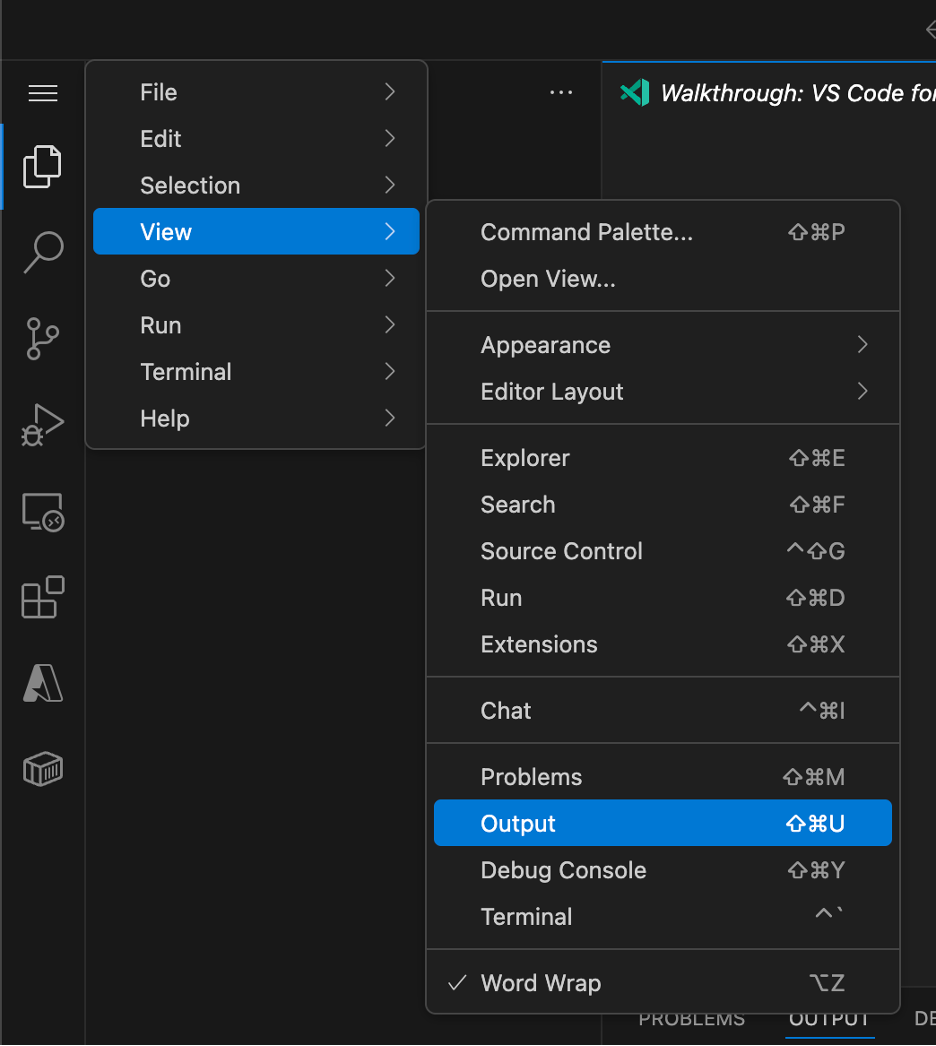
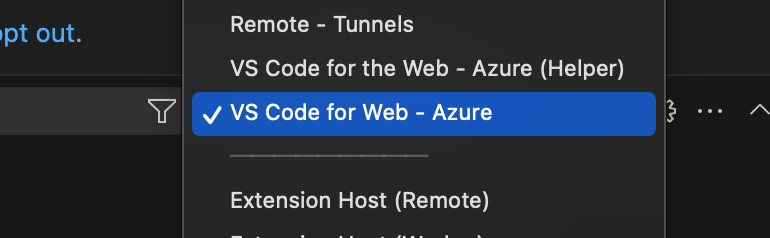
The extension logs will help us diagnose any issues with vscode.dev/azure. You can access them by going to the Output view, then selecting the VS Code for the Web - Azure output channel.
Related resources
Keep learning and exploring with the following resources:
Feedback and Support
Create issues in our GitHub repository as you find them while using vscode.dev/azure. The more detail the better. If possible, include logs from the "VS Code for the Web - Azure" output channel.