Using container registries
A container registry is a storage and content delivery system, holding named container images, available in different tagged versions.
Users can connect to container registries from the following sources:
- Azure Container Registry
- Docker Hub
- GitHub container registry
- Any generic private registry that supports the Docker V2 api
Push an image to a container registry
Before you can deploy a container image, the image must be uploaded to a container registry. The image can be uploaded to Docker Hub, Azure Container Registry (ACR) or another registry. You can follow the same steps to push the image regardless of whether you're pushing to Docker Hub, Azure Container Registries, or any other registry. If you don't already have an Azure Container Registry, you can create one during the Push step.
-
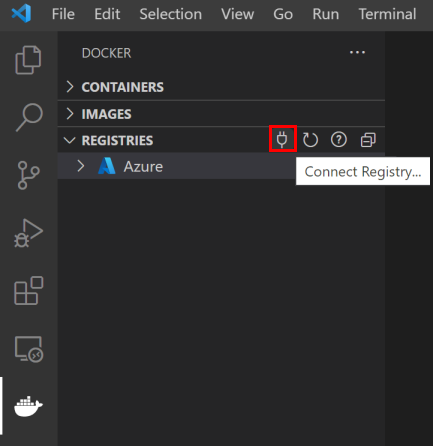
Open the Container Explorer, select Connect Registry... icon under the Registries view, and follow the prompt. Choose the provider (for example, Azure or Docker Hub) and provide the credential to connect to the registry. If prompted, install the Azure Resources extension.
-
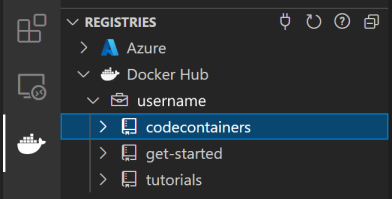
Now the registry will be visible under Registries.
-
Optionally, tag the image. In order to upload an image to a registry, the image needs to be tagged with registry name so that the
docker pushwill upload it to the right registry. If the image isn't tagged when you try to push it, VS Code asks you what registry you want to associate with the image.-
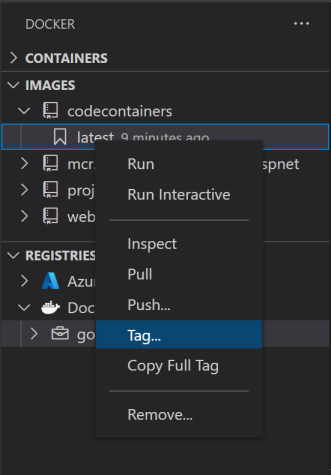
Images you previously built appear in the Container Explorer under the Images view. Right-click and choose Tag....
-
Specify the new name
<your registry or username>/<image name>:<tag>and complete the tag action. For example, new image name for ACR would bemainacr.azurecr.io/webapp6:latestand for Docker Hub it would bemyusername/webapp6:latest.
-
-
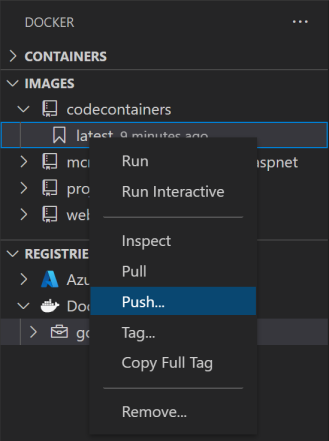
The image shows up in the Container Explorer in the Images view under the registry that the image tag points to. Select this image and choose Push. If the image has not yet been tagged, you're prompted to choose a registry to push to, or create a new registry, and the image is tagged based on the selection.
-
Once the push command is completed, refresh the registry node where the image is pushed to and the uploaded image will show up.
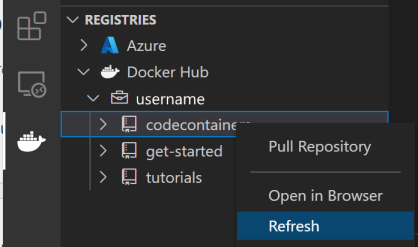
Docker Hub
This connects to Docker Hub and lists all of the repositories and images under the given account. Once you select this option, you will be required to type in your Docker Hub credentials.
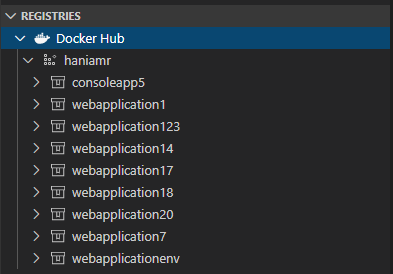
For each repository in the Docker Hub registry, here are the actions that can be performed:
- Pull repository: copies all of the images in a given repository locally
- Open in browser: opens the browser and navigates to the given repository on Docker Hub
- Refresh: refreshes the repository to reflect changes
For each tagged image in a repository, here are the actions that can be performed:
- Pull image: copies the latest version of the image locally
- Copy Full Tag: copies the full tag to the clipboard
- Deploy Image to Azure App Service: deploys the image to Azure App Service, see Deploy images to Azure page
- Deploy Image to Azure Container Apps: deploys the image to Azure Container Apps, see Deploy images to Azure page
- Open in browser: opens the browser and navigates to the given image on Docker Hub
Azure Container Registry
This option requires the Azure Resources extension to be able to connect to your Azure account and display all of the different subscriptions and registries. Once authenticated, the node Azure will display the subscriptions along with registries each have:
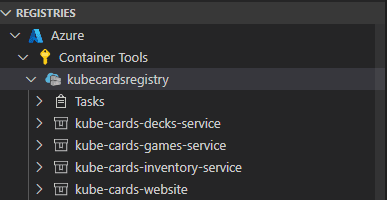
For each registry, users have different actions that can be performed using the context menu:
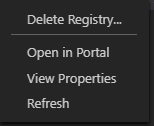
- Delete Registry: deletes the registry permanently
- Open in Portal: opens the browser and navigates to the registry in Azure Portal
- View Properties: opens the registry properties in a json format
- Refresh: refreshes the registry to reflect changes
For each repository in a given registry, here are the actions that can be performed:
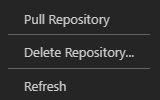
- Pull Repository: copies all of the images in a given repository locally
- Delete Repository: deletes the repository permanently
- Refresh: refreshes the repository to reflect changes
For each tagged image in a repository, here are the actions that can be performed:
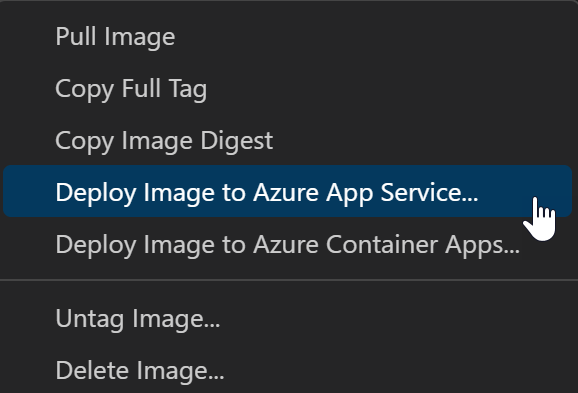
- Pull Image: copies the latest version of the image locally
- Copy Full Tag: copies the full tag to the clipboard
- Copy Image Digest: copies the image digest, which is a SHA256 hash identifier that Docker uses, to the clipboard. See Docker Docs for more info on image digests
- Inspect Image Manifest: inspects the image's registry manifest. This is not the same as inspecting the image when it is pulled locally.
- Deploy Image to Azure App Service: deploys the image to Azure App Service, see Deploy images to Azure page
- Deploy Image to Azure Container Apps: deploys the image to Azure Container Apps, see Deploy images to Azure page
- Untag Image: untags the image
- Delete Image: deletes the image permanently
GitHub
This connects to container registries in your GitHub account. Once you select this option, you are asked to type in your GitHub account credentials.

For each repository in the GitHub registry, here are the actions that can be performed:
- Pull Repository: copies all of the images in a given repository locally
- Refresh: refreshes the repository to reflect changes
For each tagged image in a repository, here are the actions that can be performed:
- Pull Image: copies the latest version of the image locally
- Copy Full Tag: copies the full tag to the clipboard
- Copy Image Digest: copies the image digest, which is a SHA256 hash identifier that Docker uses, to the clipboard. See Docker Docs for more info on image digests
- Inspect Image Manifest: inspects the image's registry manifest. This is not the same as inspecting the image when it is pulled locally.
- Deploy Image to Azure App Service: deploys the image to Azure App Service, see Deploy images to Azure page
- Deploy Image to Azure Container Apps: deploys the image to Azure Container Apps, see Deploy images to Azure page